In this part of tutorial series we’ll create Multiplayer Deathmatch Game in Unreal Engine 4. Our first goal is to build spawn queue and all the basic functionalities. In next parts we’ll create characters, damage systems, weapons, chat system, server joining systems and more.
This spawn queue is going to be time based queue, it will operate automatically on server. It will look like what Dayz has but it works in game spawning pawns for players.
If you have played Halo or Counter Strike then this should be really familiar to you, those are the games i’m going to use those games as reference. Deathmatch in those games was really smooth so that’s what we are going to aim for.
Completion time about 3 Hours
List of the things we are creating:
Server and Client build from Source Code.- C++ Classes.
- Player Controller.
- Widgets.
- Location and Team based Spawning.
Part 1 – Server Setup
Let’s talk about Gamemode
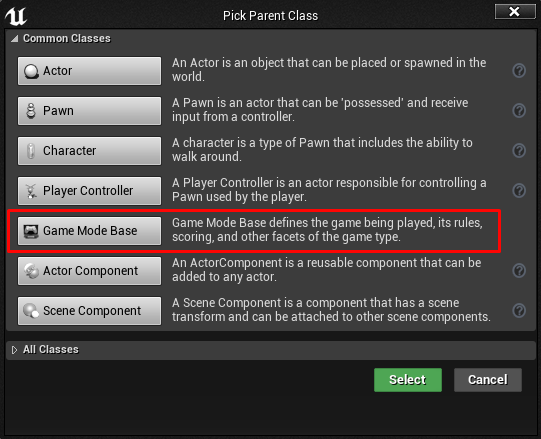
So basically this is the game, once you click that button you are building the game and Dedicated Server (client too). There is no separate Server or Client code, it all goes in the same project which is actually really smart because it makes everything so simple and easy.

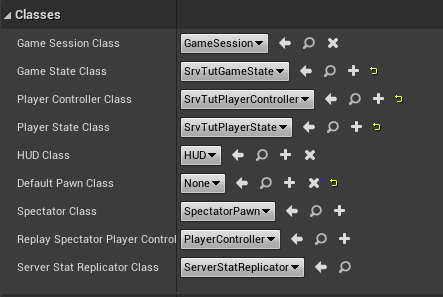
Game Mode Base is a Class that in a Multiplayer game only exists on the server. There are other Classes and some exist in all clients and servers and some not. We’ll talk about that more as we progress.

Notice
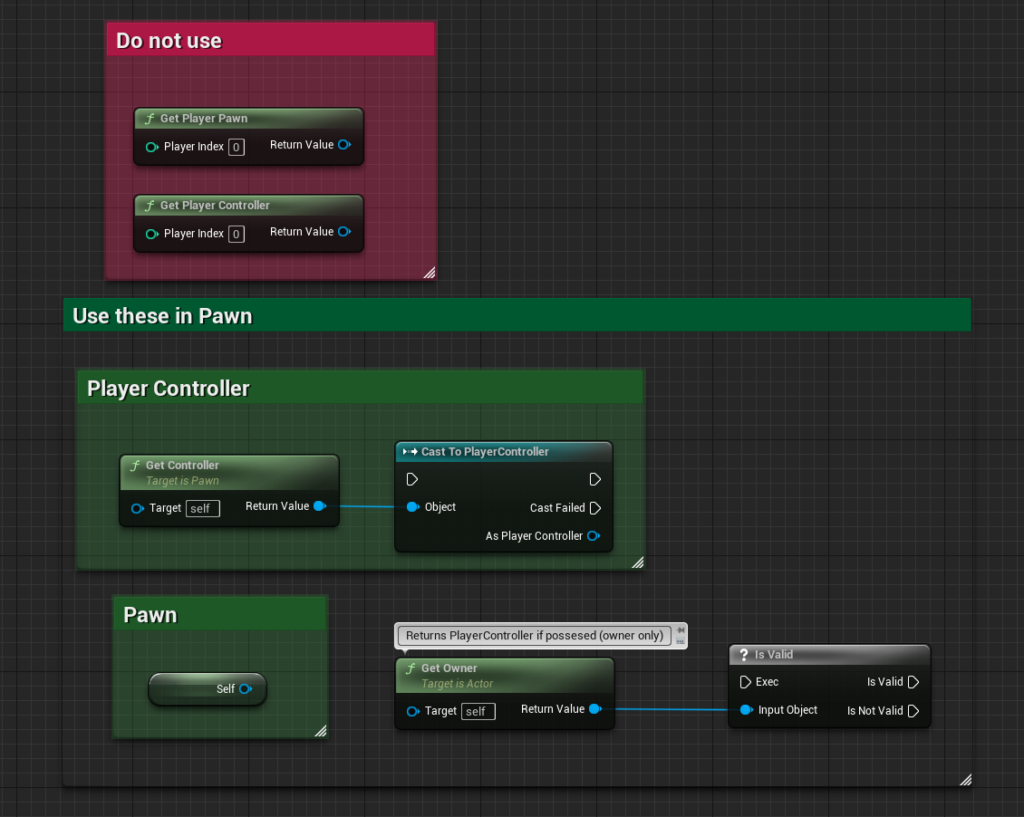
You may see GetPlayerController (Player Index 0) used in this tutorial but this is incorrect way, especially in multiplayer games. Check the below which you are supposed to use and where.
Widgets

Player Controller

Pawn/Character

[…] Part 2 – Deathmatch Gamemode […]