Welcome
This is a series about Unreal Engine 4 Multiplayer Deathmatch. In this series we go through Setting up of Dedicated Server using Source code and creating a Deathmatch multiplayer Game Mode.
Unreal Engine 4 versions this tutorial supports
- 4.23
- 4.24
- 4.25
- 4.26
In order to build Dedicated Server you need source code of UE4. Source code takes around 100gb hard drive space.

Visual Studio
Before we can build UE4 Source code we need to install Visual Studio.
You can use Visual Studio 2017 or 2019 to build Source code. For 4.25 or later it’s recommended to use Visual Studio 2019.
https://visualstudio.microsoft.com/vs/community/
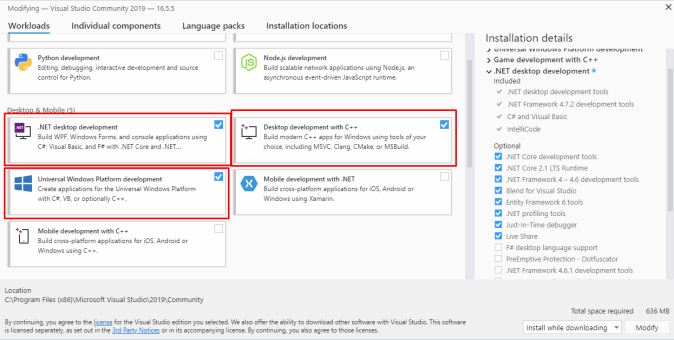
Once you have installed Visual Studio, UE4 requires some special libraries. You can install those using Visual Studio Installer.
Windows key -> Visual Studio Installer -> Modify

Install Unreal Engine installer.

For Visual Studio 2019 select Universal Windows Platform development, .NET desktop development and Desktop development with C++
Files
Before we can do anything we need to get the source code and build it.
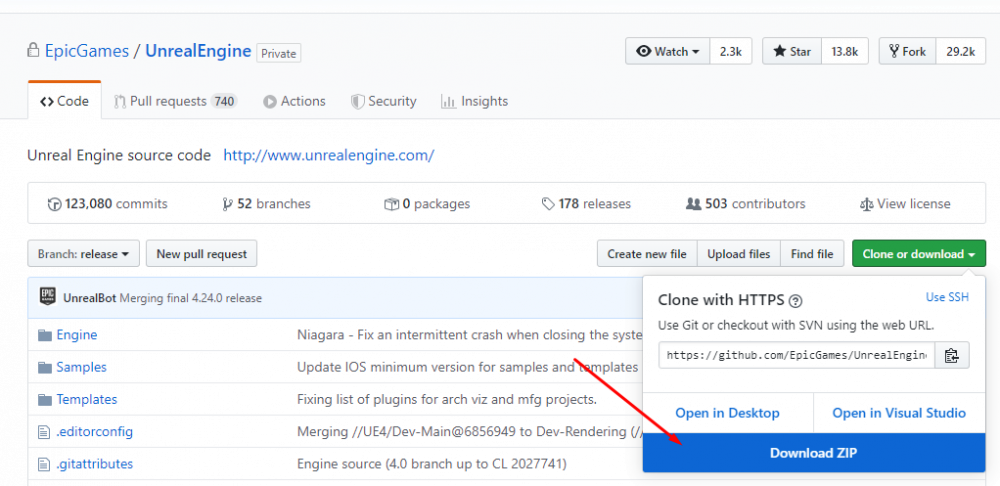
Download Unreal Source Code from GitHub.
Login to Github and click Join to see this page:
Open up command prompt as administrator.
Type “pushd” and location where you unzipped the file.
Type “Setup.bat”

When it has finished that
Type “GenerateProjectFiles.bat -2017” or -2019 depending on your visual studio version.
Go to folder and launch the solution “UE4.sln”
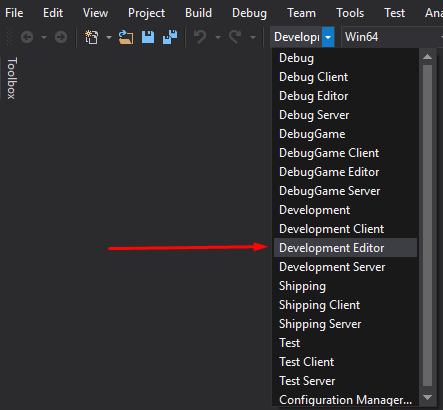
Set build configuration to “Development Editor”
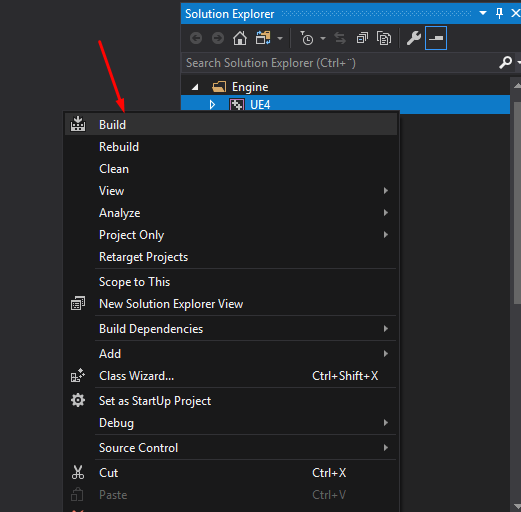
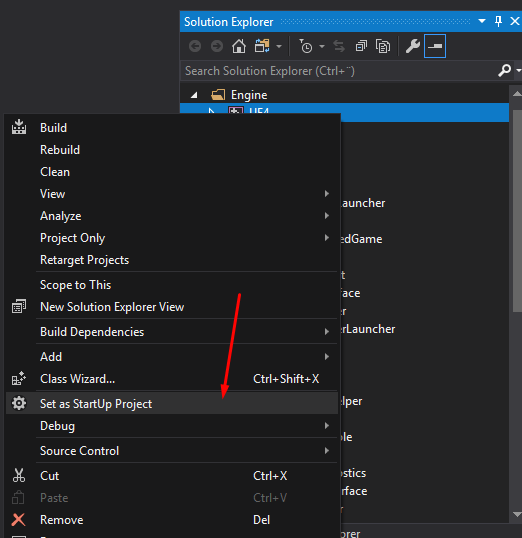
Then in Solution Explorer right click UE4 and select Build
After it has finished, right click UE4 again and select “Set as Startup Project”
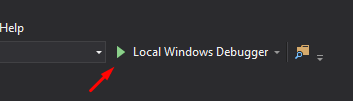
Then launch it from “Local Windows Debugger”
Believe it or not, that’s it. Once it has finished Building Shaders create a ThirdPerson Blueprint Project and you’re good to go.
I prefer Blueprint because you get the Character stuff all in blueprint and that’s what we are going to work with.
Server Setup
Set up Maps
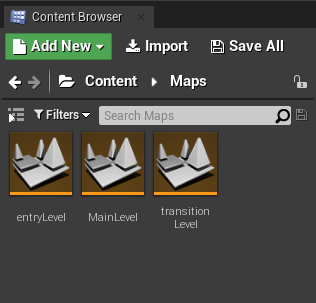
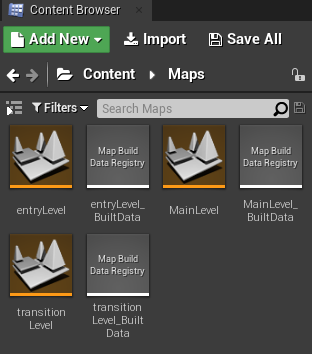
Create “Maps” folder and add two empty levels “entryLevel” and “transitionLevel”.
And your game level map as “MainLevel” or any other name.
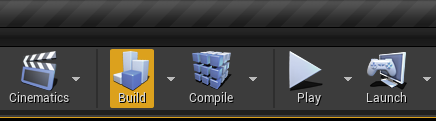
Then Build Maps so we can get “Map Build Data Registry”.
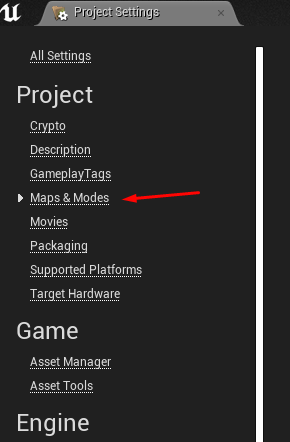
Go to project settings -> Maps & Modes.
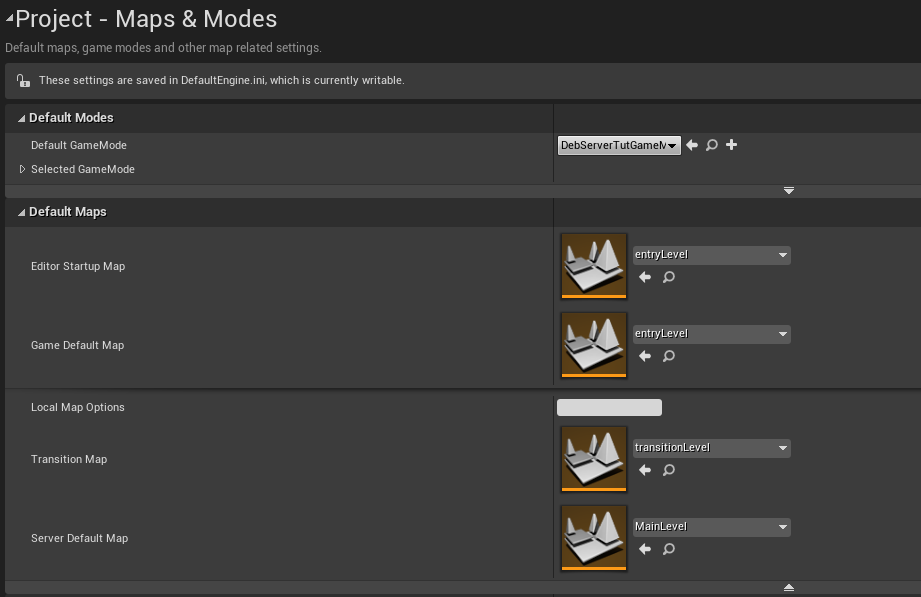
Open Default Maps from a small triangle pointing down.
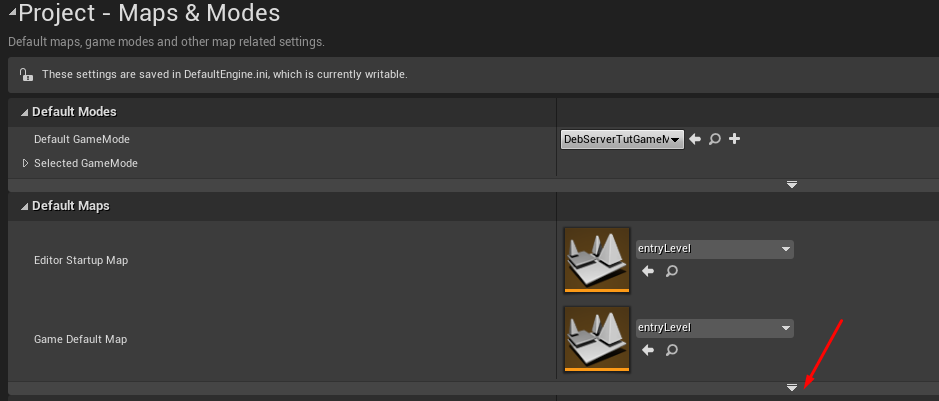
And set all maps like in picture below:
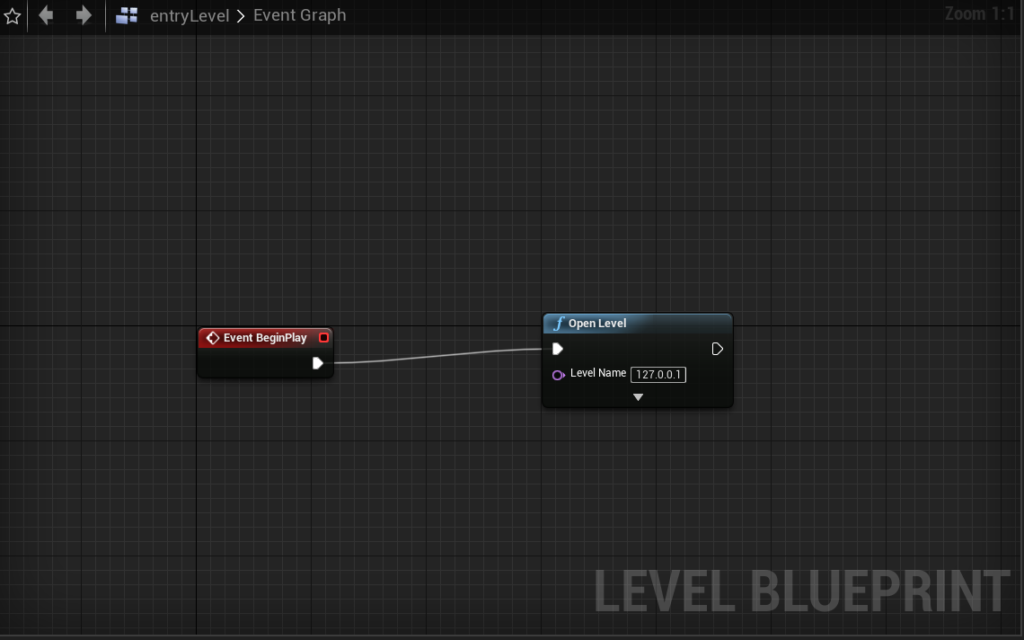
Add Open Level node in entryLevel Level:
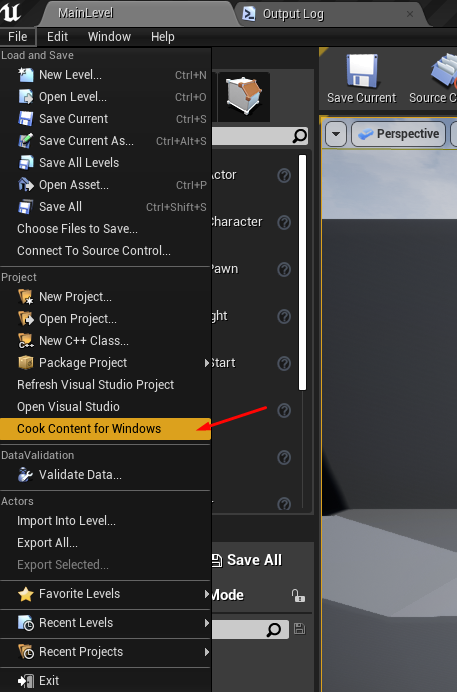
Now cook Content:
Building Client
Once you have finished cooking the content you can build Client.
Building Server
It’s not possible to build a server with Visual Studio. So we have to build it with Unreal tools.
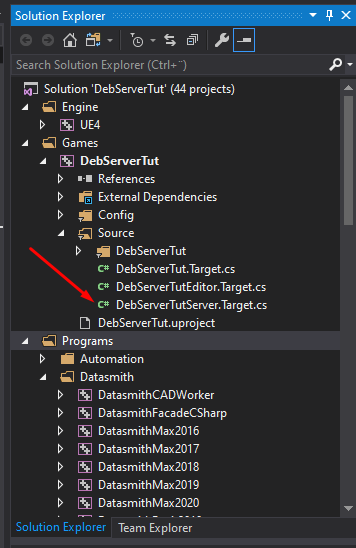
Create a new file ProjectNameServer.Target.cs
Replace “DebServerTut” with your project name.
// Copyright 1998-2019 Epic Games, Inc. All Rights Reserved.

using UnrealBuildTool;
using System.Collections.Generic;

public class DebServerTutServerTarget : TargetRules
{
	public DebServerTutServerTarget(TargetInfo Target) : base(Target)
	{
		Type = TargetType.Server;
		ExtraModuleNames.Add("DebServerTut");
	}
}
Then add it in Sources folder:
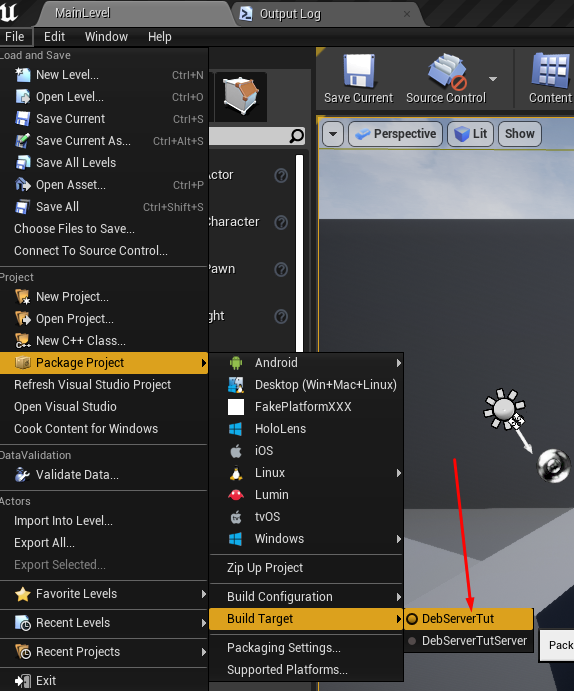
Set Build Target to Server:
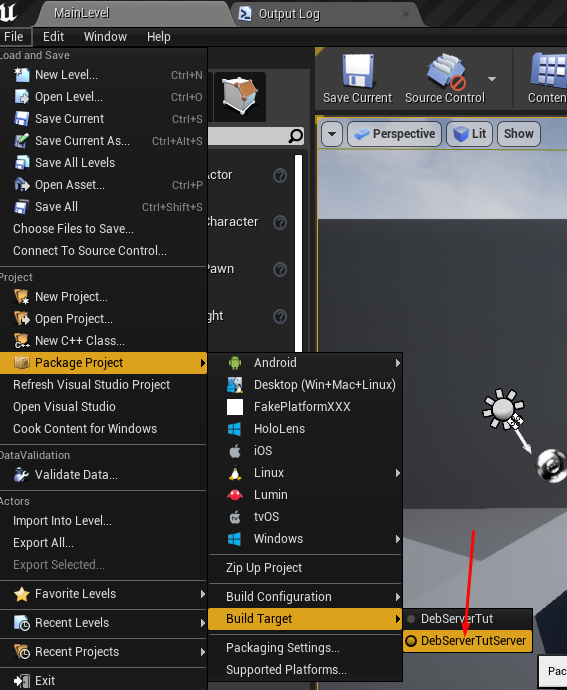
If for some reason this doesn’t appear, then you need to regenerate project files.
Now you should be able to build it:
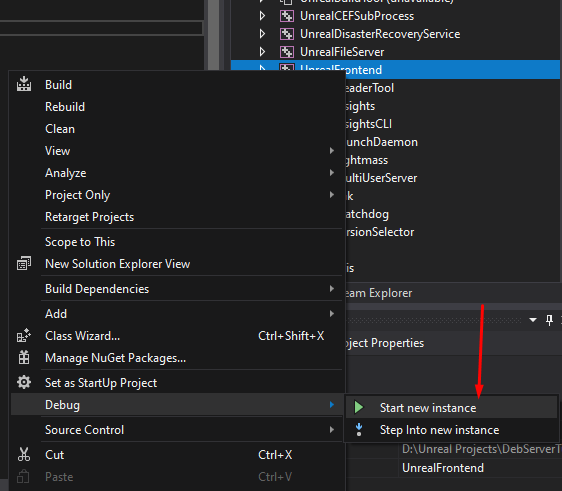
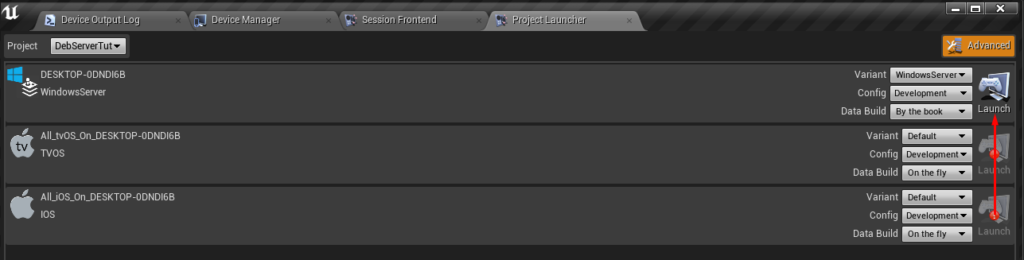
You can also build it using UnrealFrontEnd:
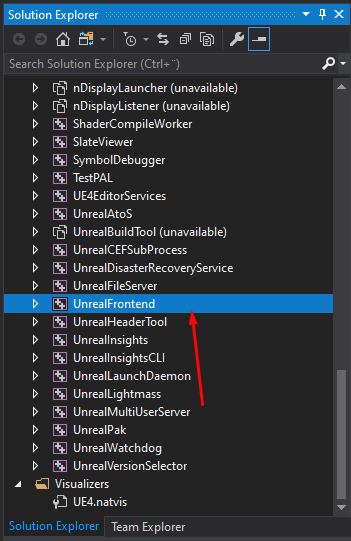
You can launch UnrealFrontend from Right click -> Debug -> Start new instance.
Set uproject file first:
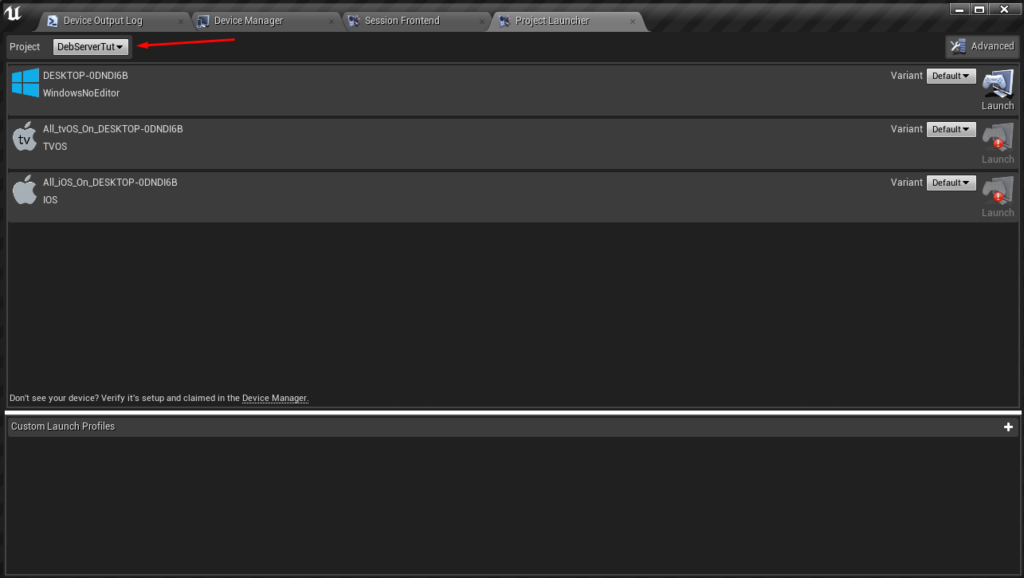
Then set it like this and hit Launch:
Launching Server and Client
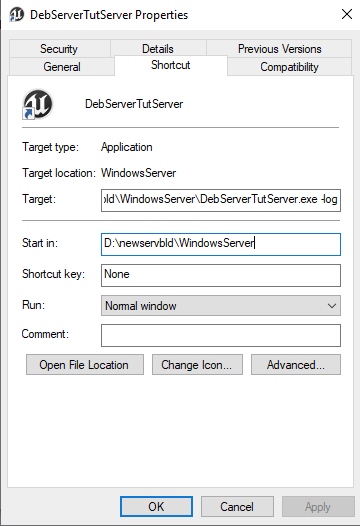
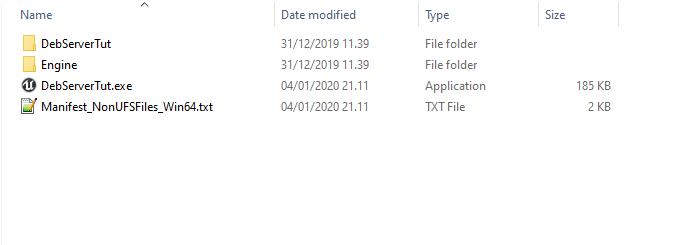
Once you have build both Server and Client go to WindowsServer folder and create shortcut to Server executable.
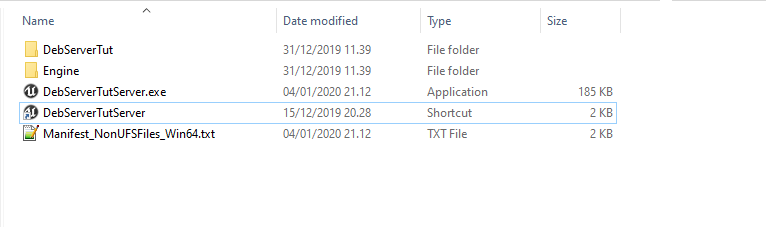
In server.exe shortcut add “-log” at the end of target:
WindowsNoEditor is the client folder and it should look like this:
Launch server first from shortcut and then client.
Building for Linux
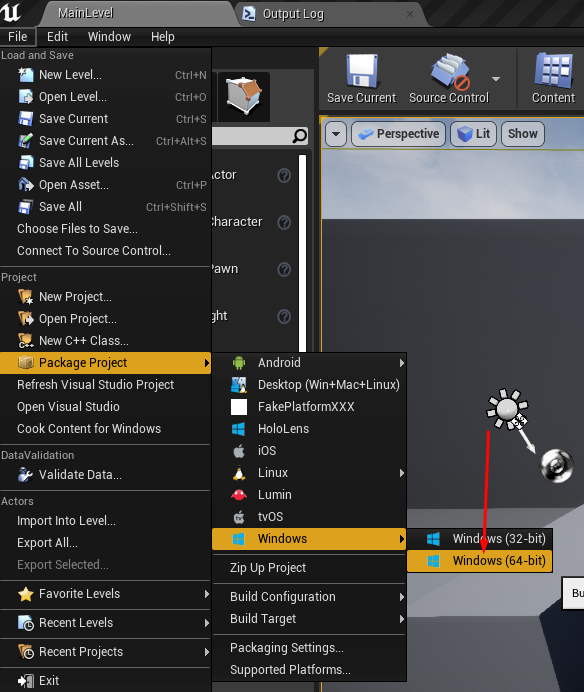
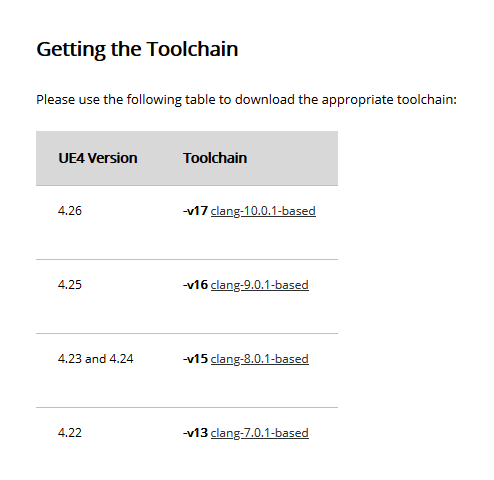
Building Linux is very simple once you get Cross platform toolchain.
So just install this and then Package Project -> Linux
https://docs.unrealengine.com/en-US/Platforms/Linux/GettingStarted/index.html
Once you have installed Toolchain you need to open your project in Visual Studio and hit Build.
Problems & Tips
4.27
Stay with 4.26 if you can it’s much more stable and beginner friendly then this one. This one also makes your assets unsupportive for previous versions.
4.23
Can only be built on Visual Studio 2017 and older because of mathtest failure.
https://issues.unrealengine.com/issue/UE-81677
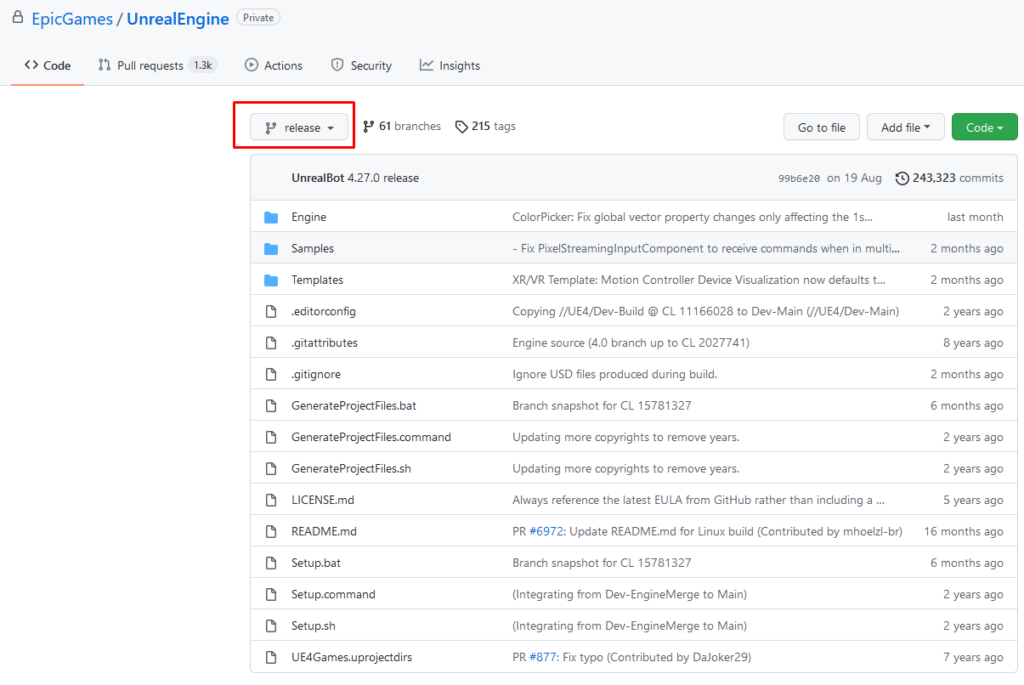
Looking for different versions
If you wan’t previous version of ue4 source code click the release button.
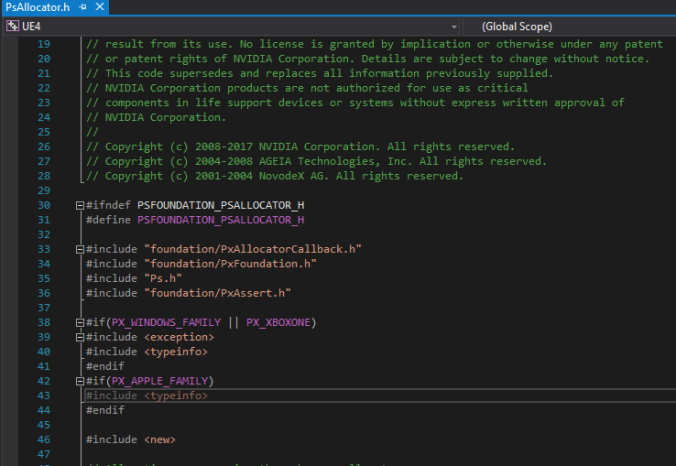
PsAllocator
If you get this problem:
C1083 Cannot open include file: 'typeinfo.h': No such file or directory

Go to Solution Explorer, type in search bar “PsAllocator.h”
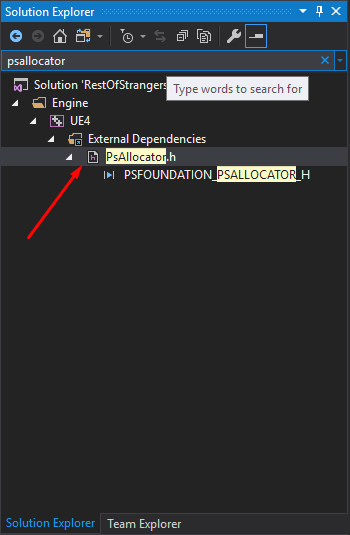
In “PsAllocator.h” file go to line 43 and make sure that it’s
- “typeinfo”
- and not
- “typeinfo.h”
https://github.com/NVIDIAGameWorks/PhysX/pull/181
Megascan
If you add Megascan plugin with Bridge (into Source code Plugins folder) you need to close unreal editor and visual studio and then start the solution again (UE4.sln), then launch the solution (local windows debugger) so visual studio can update the project. Otherwise you’ll get this error: Plugin ‘MegascanPlugin’ failed to load because module ‘MegascanPlugin’ could not be loaded.
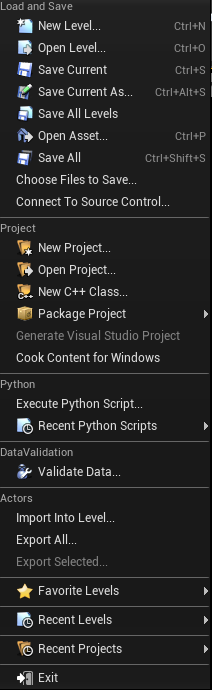
No C++ Code
If your File Menu looks like this, you need to add New C++ Class in order to be able to build a Server.
Good to Know
- Your Source Code build is unique, this means that if you build plugins with it they don’t work with Epic’s Official Unreal Engine 4 release build. You need to compile the plugin with the official build.
- You can simulate the server environment in the editor. So you don’t need to build a server unless you want to see how it performs as a standalone.
[…] Part 1 – Server Setup […]