From Blender to UE4 – Skeletal Mesh
Let’s see how you can get Skeletal mesh from Blender to Unreal with animation.
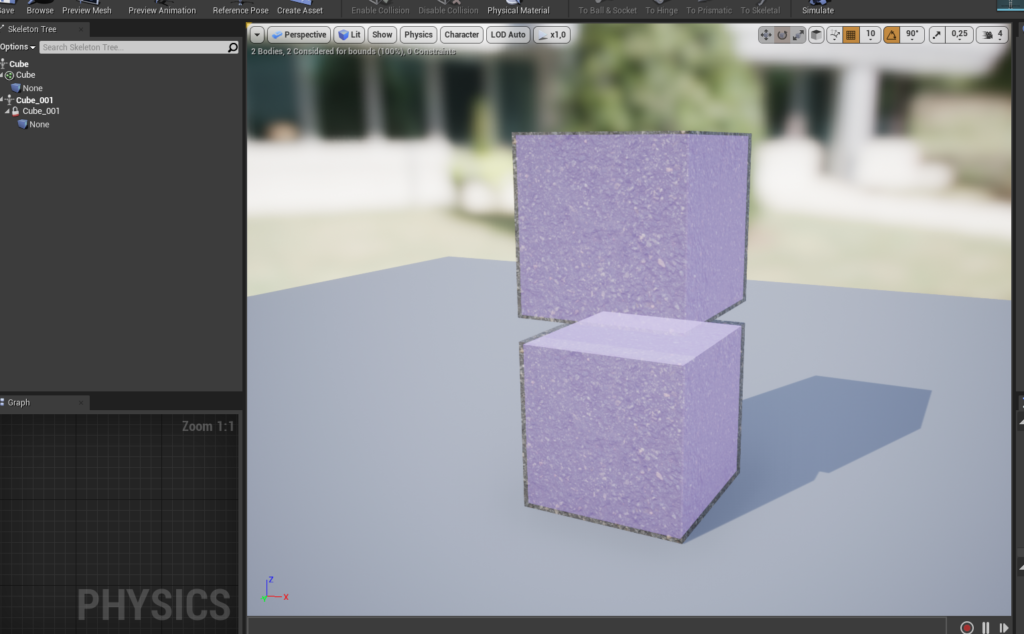
For this one i created two cubes and set them like this.
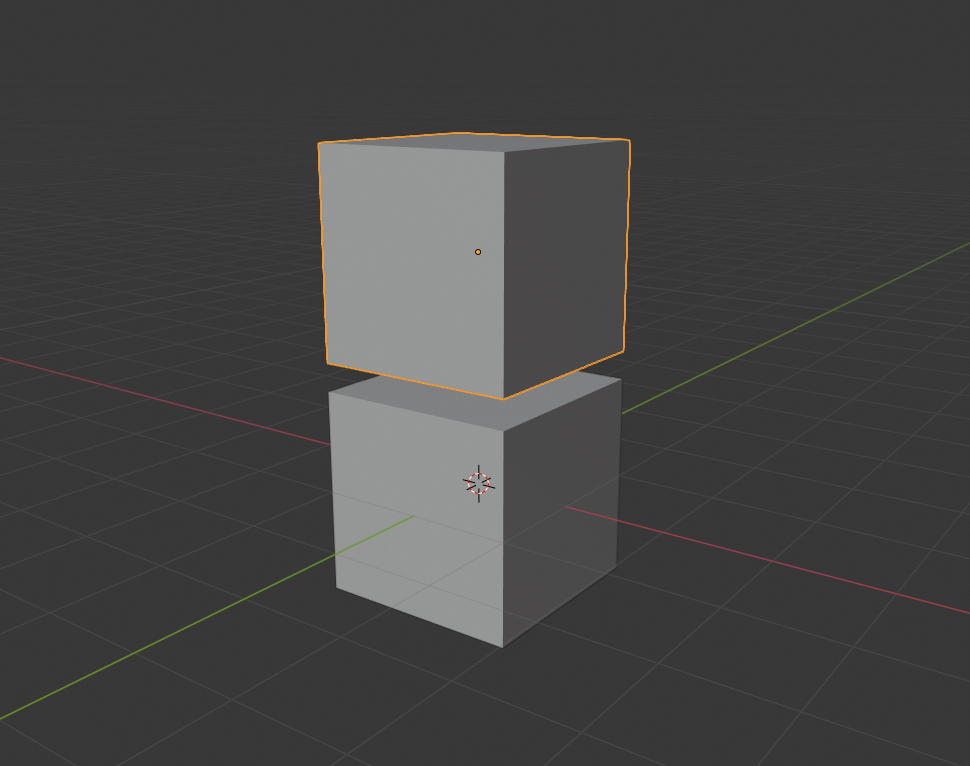
To skin them together without bones you can do this.
- First select the child and then select the parent target.
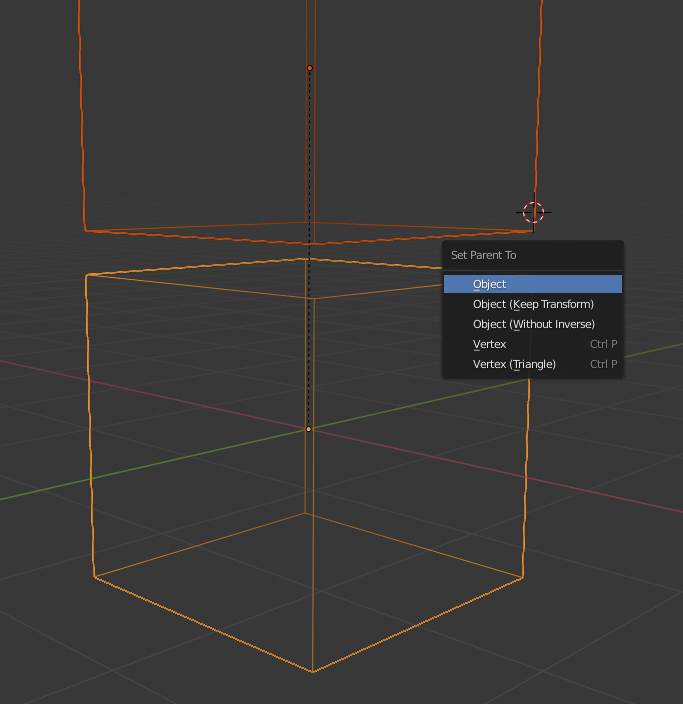
- Then press ctrl + p.
- And choose Set Parent to Object.
So here i chose the upper one first and then the lower one.
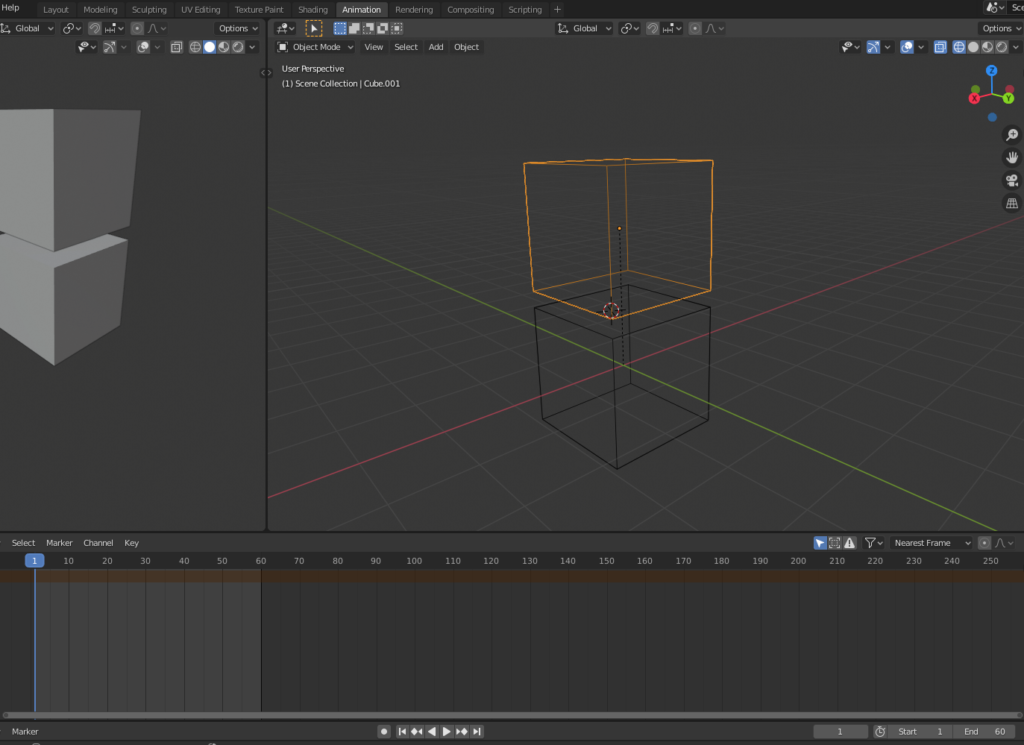
Now you can go to Animation tab and set animation length to 60.
Press i on 3d viewport frame to insert keyframes.
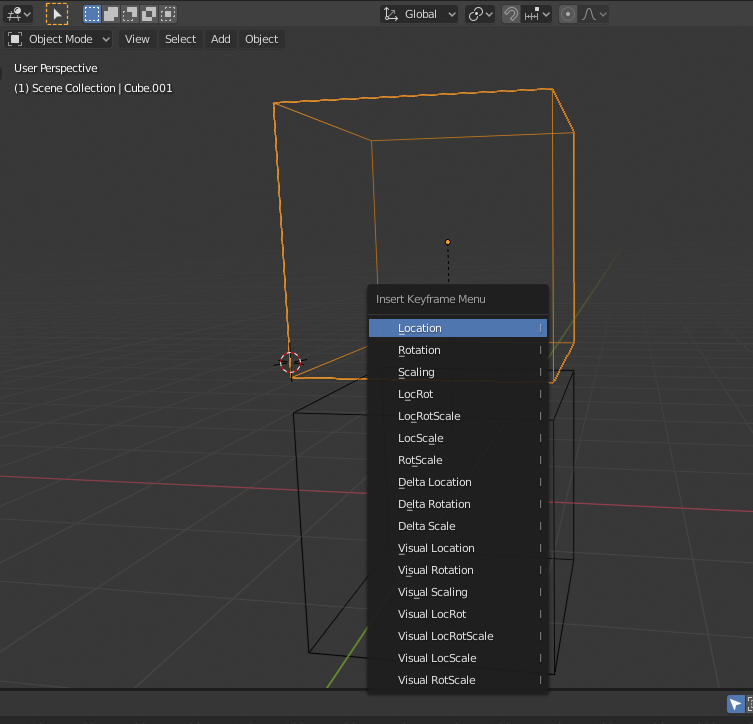
Before i did anything i added keyframes to 0 and 60 so it becomes a loop and then just bunch of random movements every 10 frames.
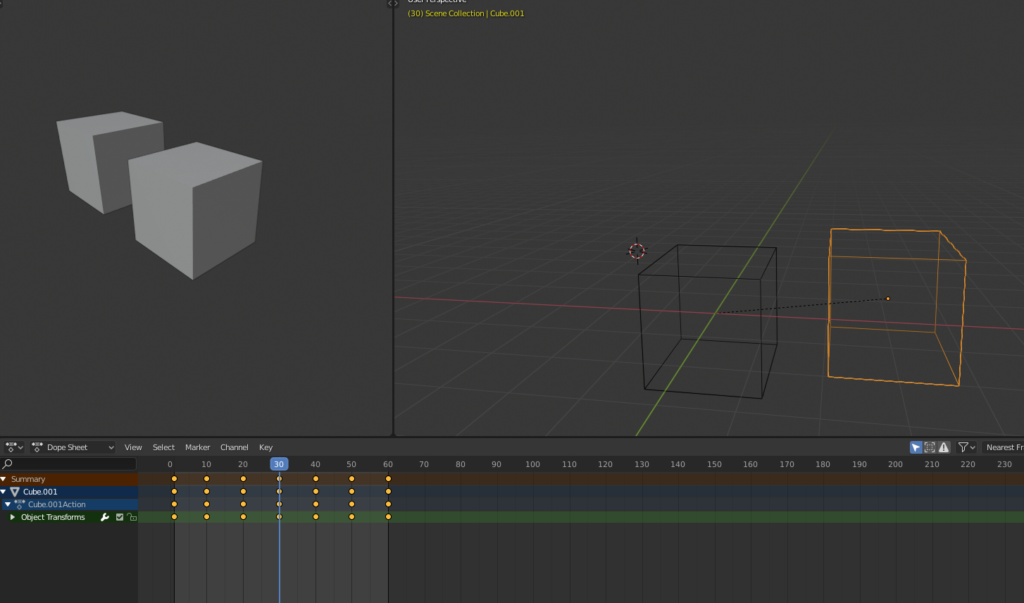
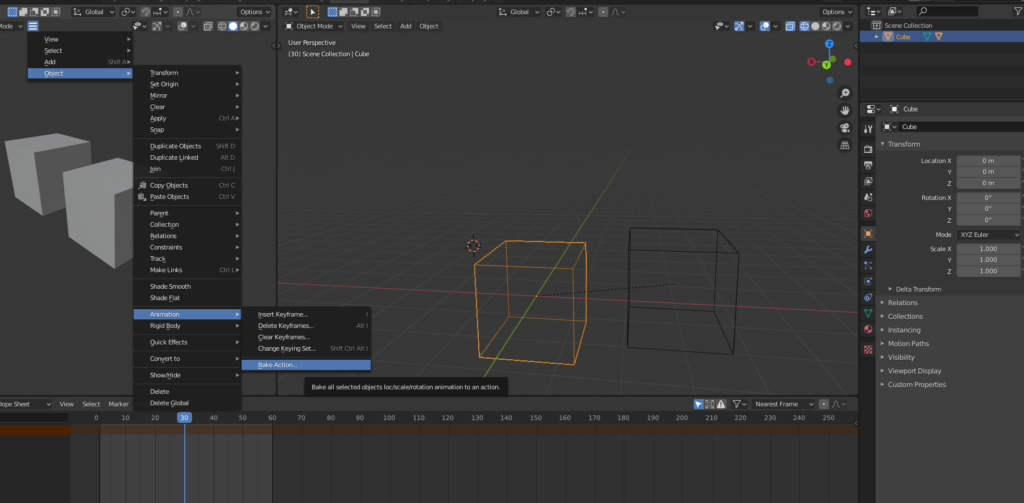
Remember to Bake animation when you finish.
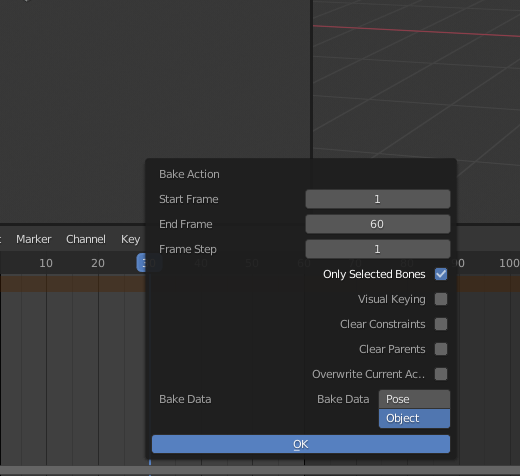
Bake it to root bone or in this case root parent which is Cube.
It will come up with this, just click OK.
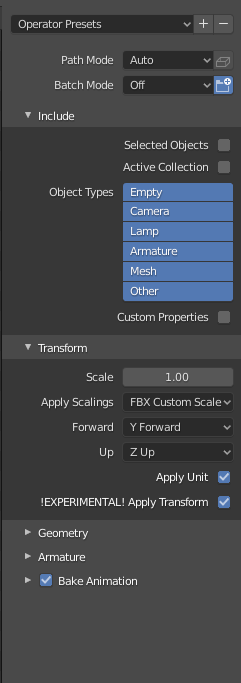
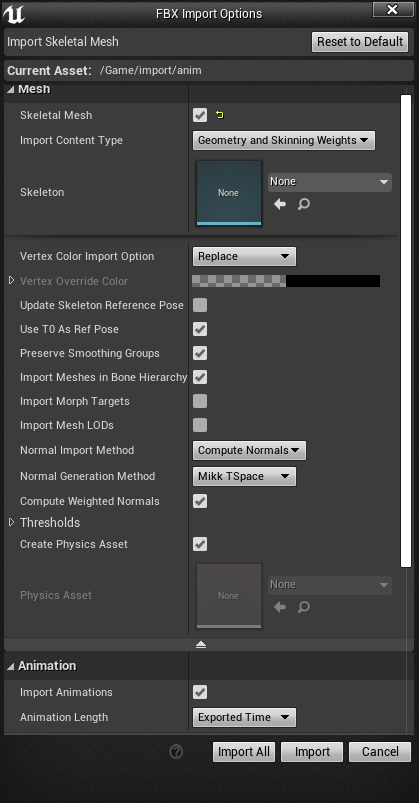
Now use these settings to export it.
Remember to set Geometry to edge.
If everything went right it should bring up this when you import the mesh. If not click Skeletal Mesh and see what happens.
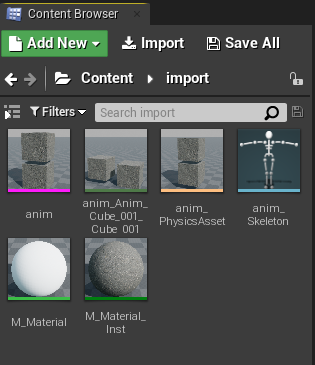
It imported some things we don’t need.
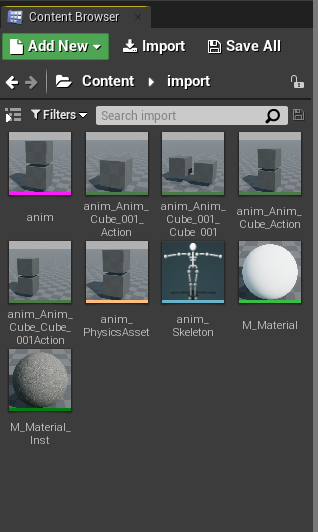
Clean up.
Go to Physics asset.
Get rid of all physic bodies so we can add our own.
Select root bone, right click on it and Add Shape.
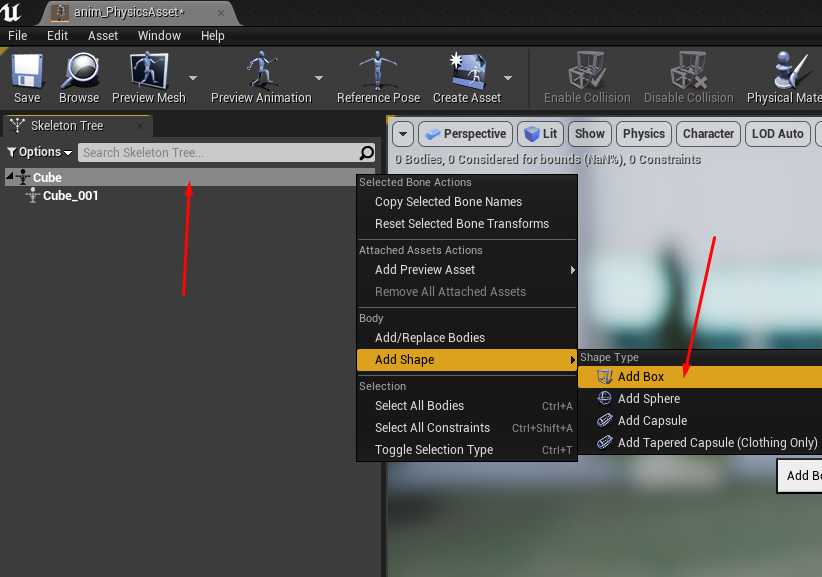
Add another box to second bone.
Select physic body from second bone.
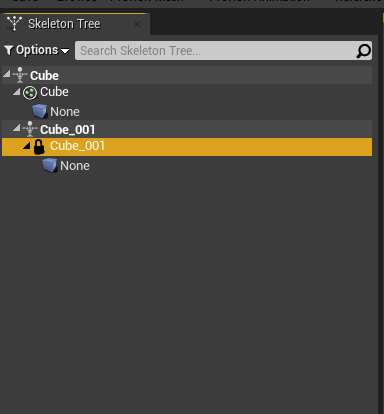
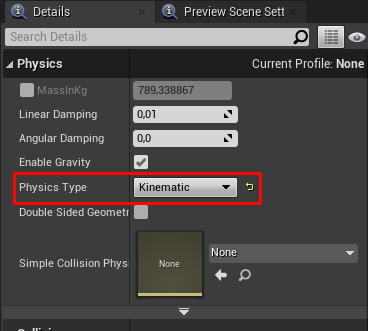
And go to details panel on right.
Set Physics Type to Kinematic. So the animation plays on this bone.
Play the video to see the result.