Mesh and Material
So you have installed Unreal Engine 4 and you have the editor open and you wan’t to already export your creation from Blender to Unreal but you have no idea how to do that or you have come across a problem, no worries we’ll take a look at every step and make things work.
Before you start make sure that Unit System is Metric.
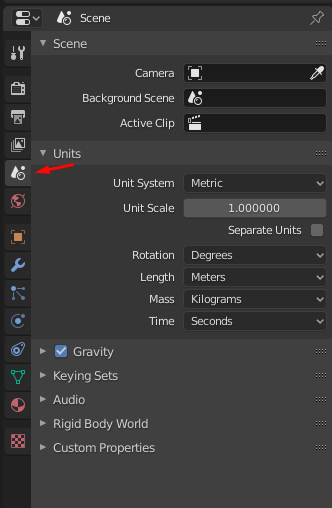
Before exporting object to Unreal mesh needs to have at least one material.
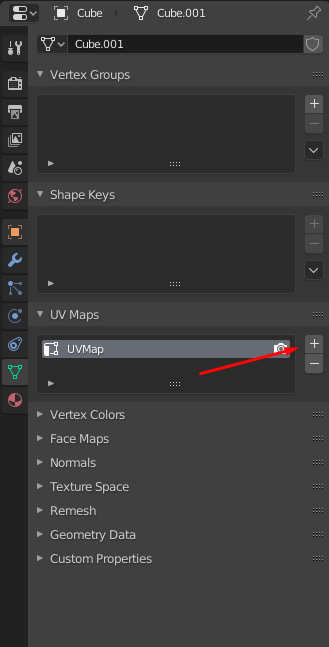
To add a material to your mesh you need to go to material settings.
And then click plus button.
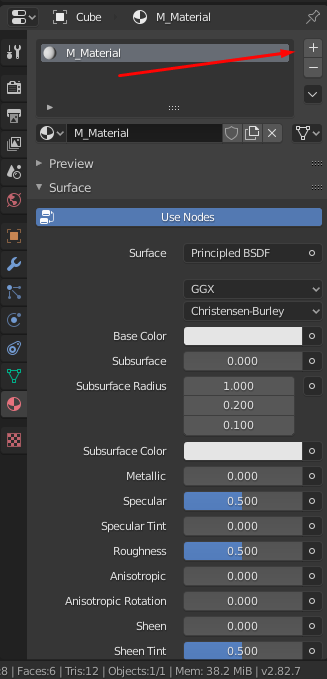
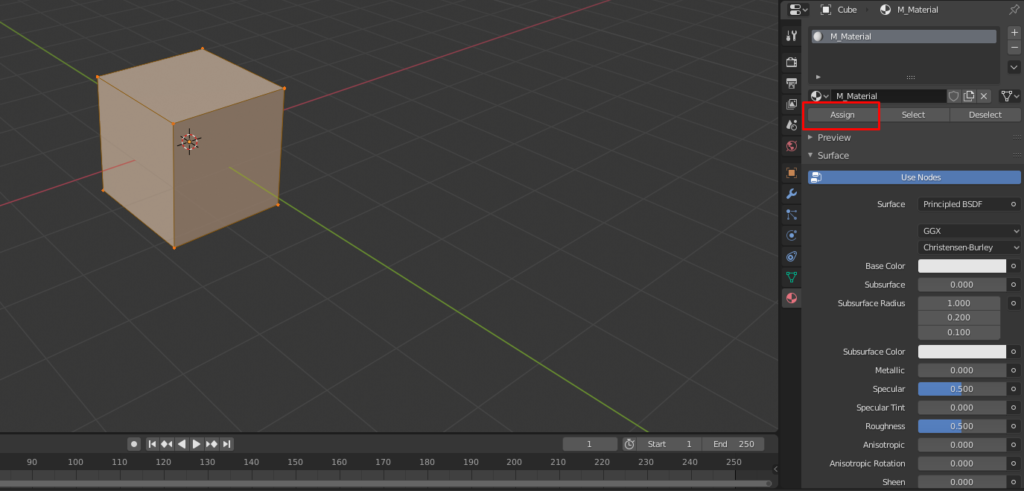
You can create multiple materials for one object and assign them to faces.
If there is no material and you add a new one it will be automatically assigned to whole object.
Go to UV Editing mode and hit tab button on your keyboard to edit mesh.
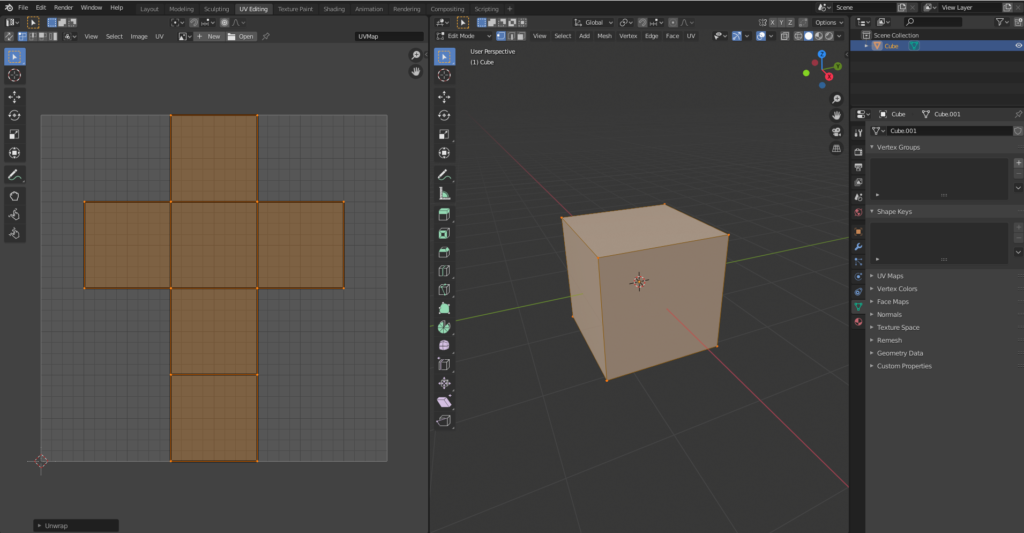
If you select your mesh and then go to… umm what is that thing called, green triangle? Let’s call it mesh settings. So go to mesh settings and UV Maps and click plus icon in UV Maps to duplicate default uv map.
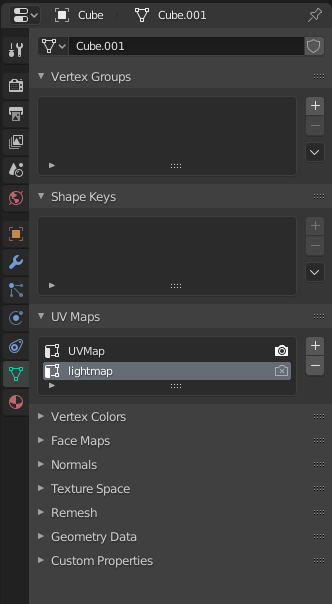
And name it lightmap.
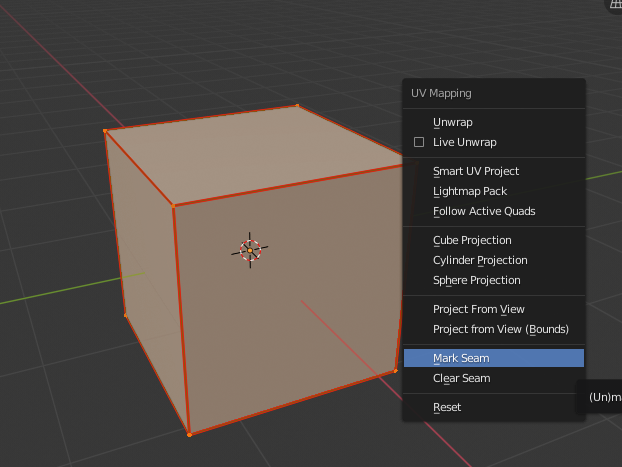
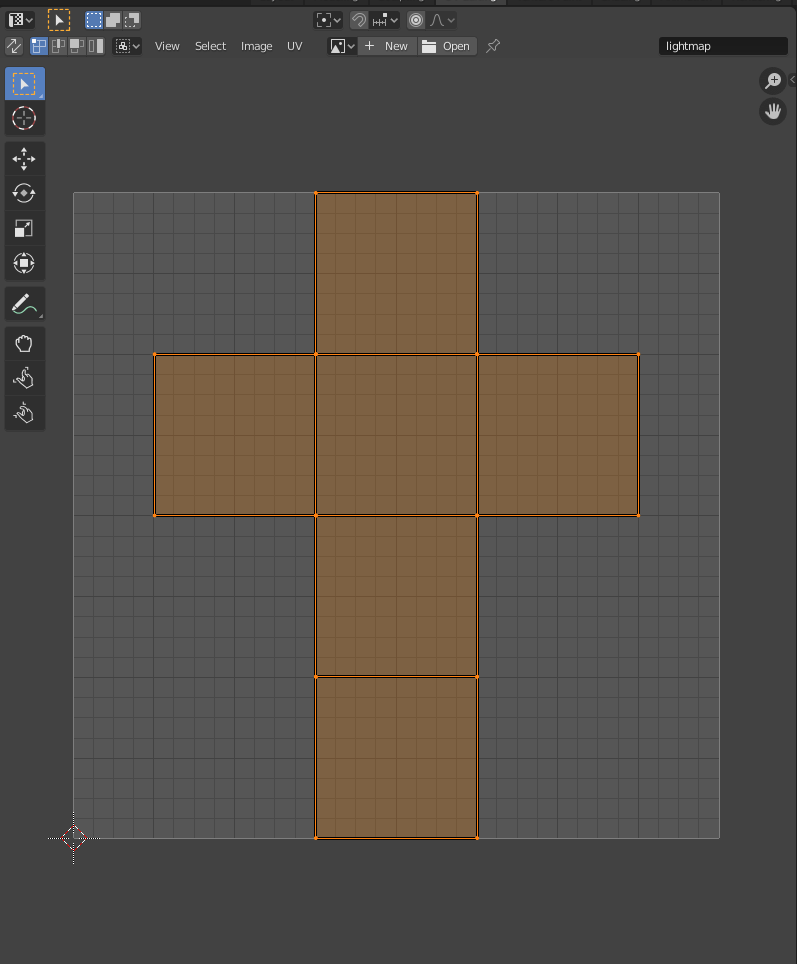
Now go to UV Edit mode. Select your mesh and press U to open up UV Mapping list and select Mark Seam.
Lightmap uv map should look like this right now.
Make sure you got the right one and not the material uv map.
UV Maps:
- UVMap
- lightmap <-
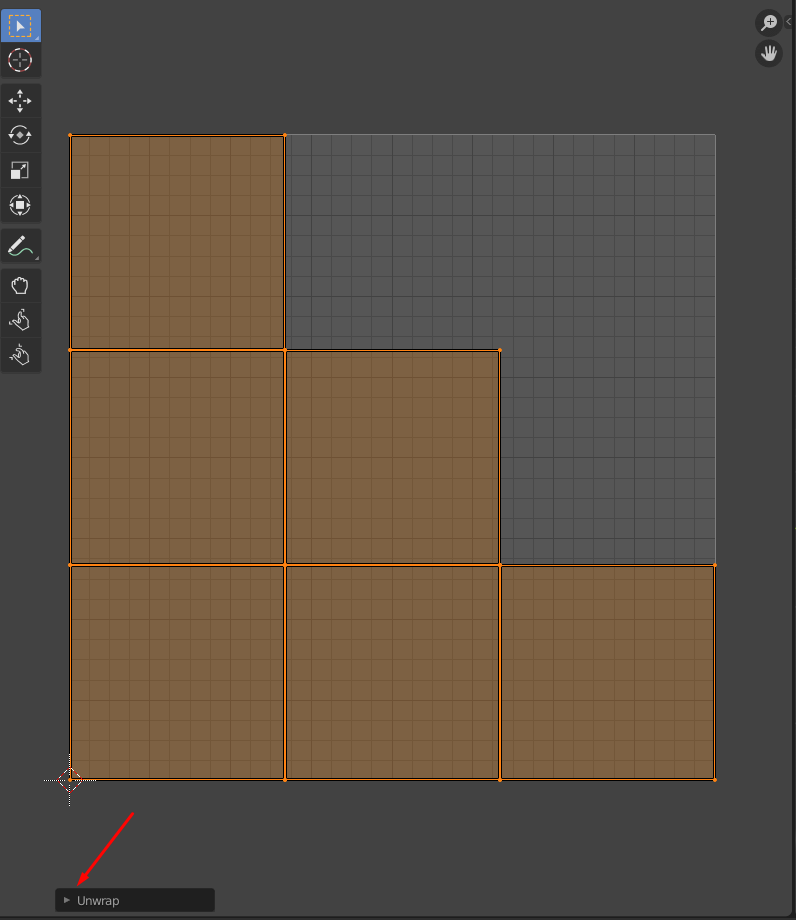
Press U in left uv face edit screen.
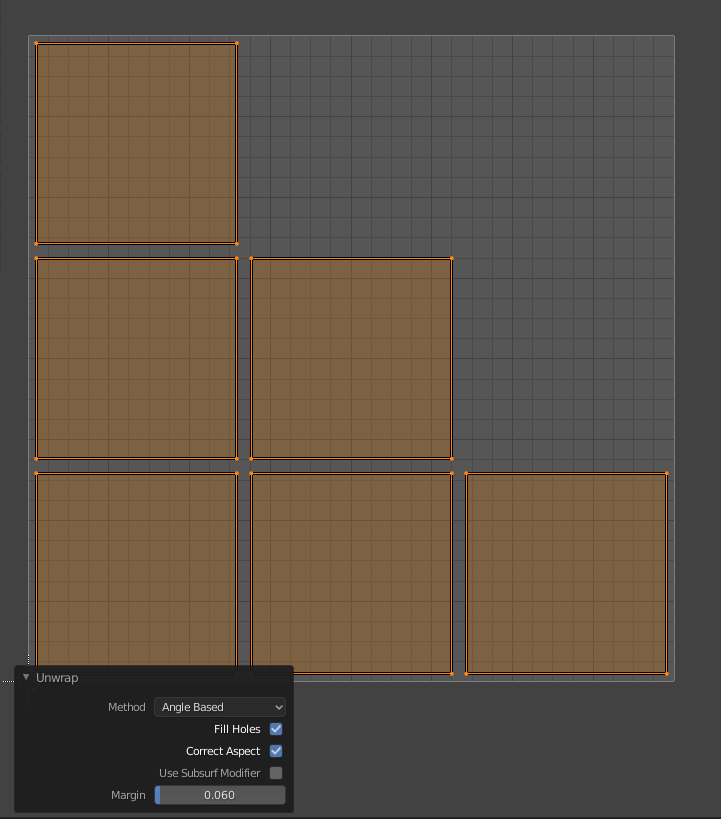
Then open up Unwrap settings.
Here you can adjust the margin. This will create space between uv islands. We need space so that lightmaps don’t bleed.
Lightmaps are usually baked in low resolution like: 64 x 64, 256 x 256, 512 x 512.
This means that there’s not many pixels. You can see tiny squares right now, there is 32 on both axis. So if you paint one of these squares you can see that it takes lot’s of space and in some areas it will touch two islands. So if my target lightmap resolution is 64 x 64 i would go for 0.1 margin.
Before you export your object you should add shortcut to FBX option.
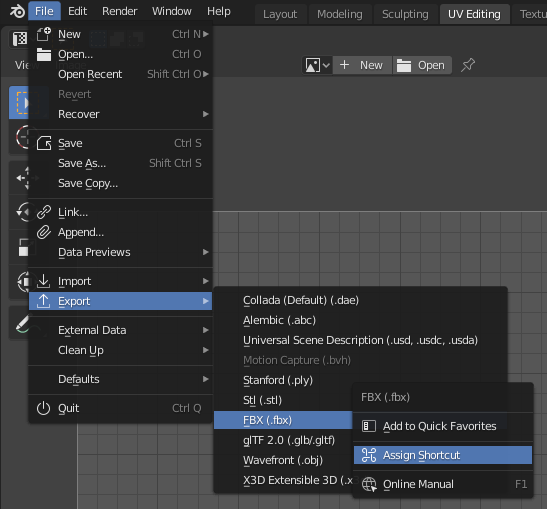
Like this, if you have a gaming mouse it usually has some extra buttons so assign one of those buttons for this job.
Now you just select the object you wan’t to export and click that button.
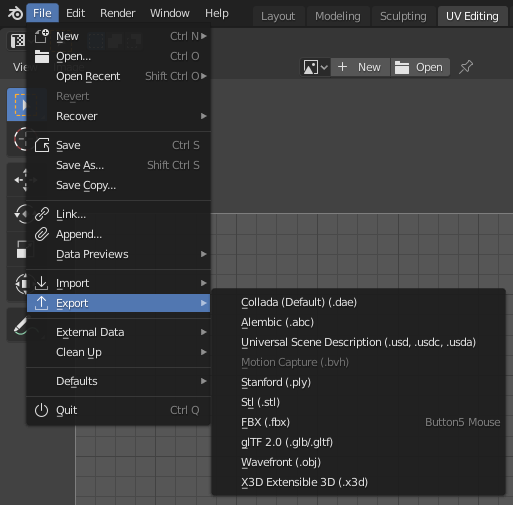
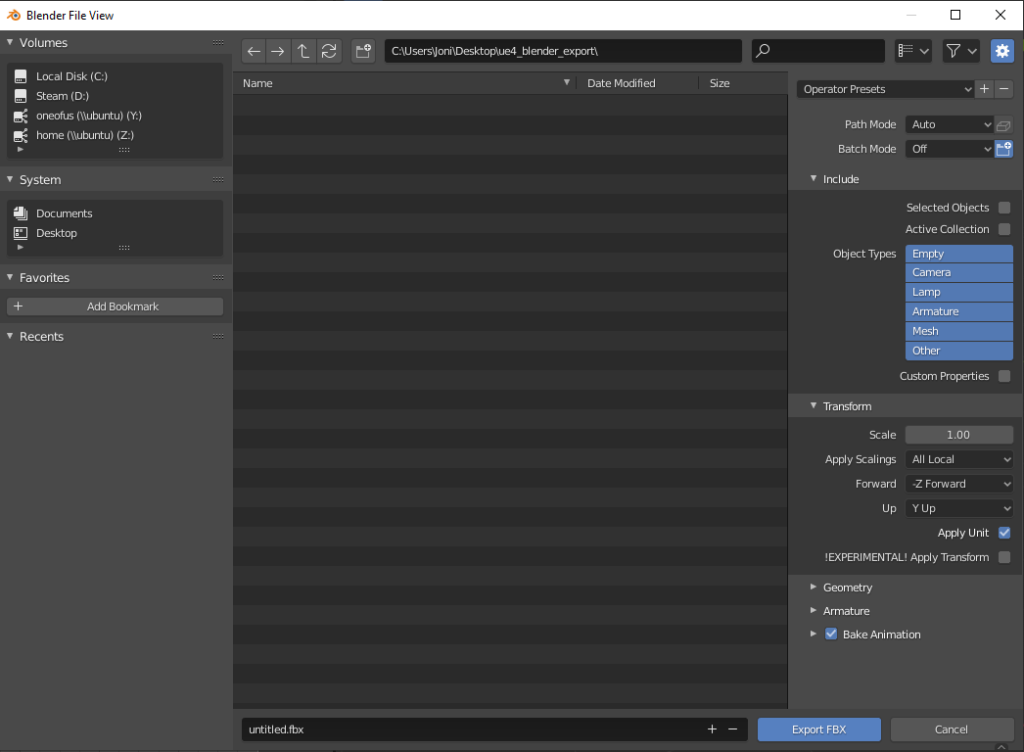
Let’s go to FBX options.
Default looks like this.
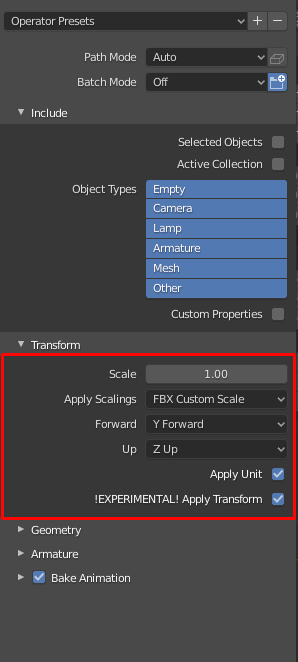
We wan’t to set it like this.
- Apply Scalings: FBX Custom Scale
- Forward: Y Forward
- Up: Z Up
- Apply Unit: Check
- Apply Transform: Check
If you don’t check apply transform nothing will happen and you’ll get really small mesh.
Y is forward, negative Y is behind. This will set your characters right way when you add them in Character Blueprint.
Z is up, you can’t screw that.
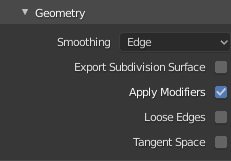
And in Geometry set Smoothing to Edge.
If you are exporting animations click Bake Animation button somewhere in animation mode and select root bone and then export. If you have multiple root bones then that’s not going to work in Unreal 😀 sorry.
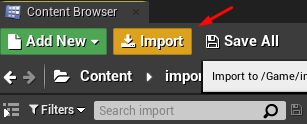
Go to Unreal and select Import in Content Browser. Then just find your fbx file…
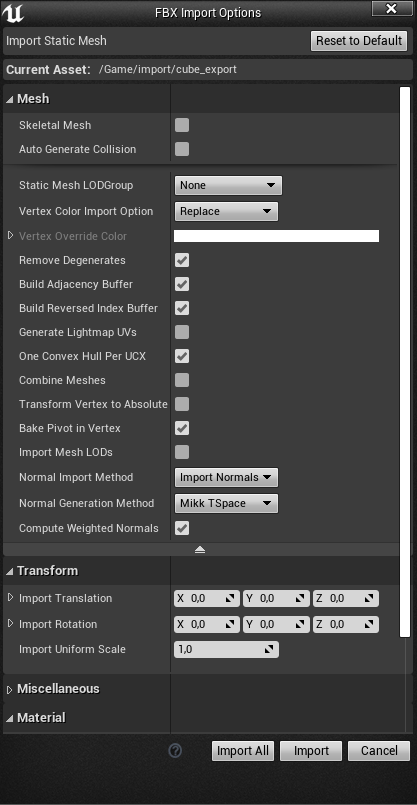
Here are the import settings for Unreal.
Change Vertex Color Import Option to Replace, incase you ever work with vertex colors this should be as Replace. I usually use vertex colors as base colors in scifi content, try it out, less texturing work for you.
Uncheck Transform Vertex to Absolute and check Bake Pivot in Vertex. This will set pivot to object pivot otherwise the pivot will be always at zero coordinates.
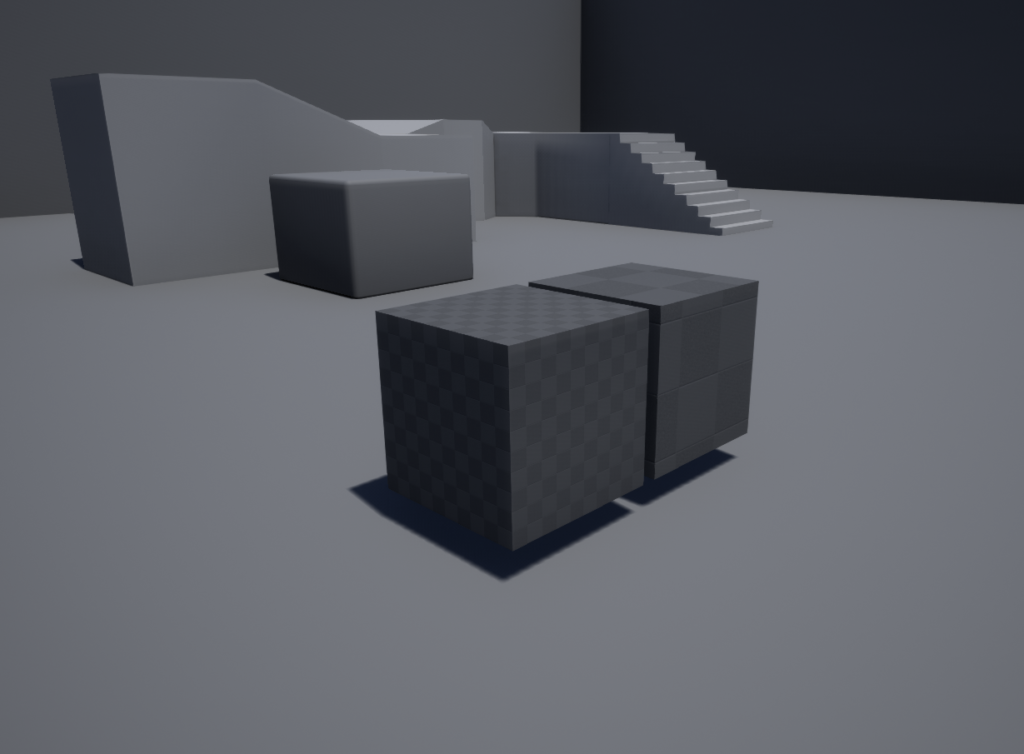
Now let’s check the scale.
On left we have a cube from engine content, size of this cube is 1m x 1m x 1m.
On right is the cube from blender, default size of blender cube is 2m. Since i scaled it to 1m in blender, we can see that the scale is working.
You should export one object per file because if you have all objects in one file and you just edit one object and reimport then all objects can sometimes become dublicated. So it’s just much cleaner and safer way to work with one object per file.