Intro
Dynamic lights in UE4
Scene Setup
Uv Matching
Maya
Blender
Offset
Summary
Links/References
Dreaming of modular building? Big cities or just some interiors? But not sure how it would work with Unreal Engine 4?
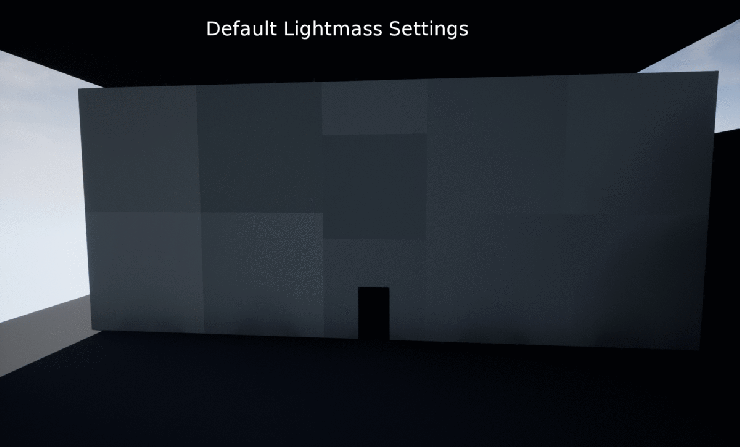
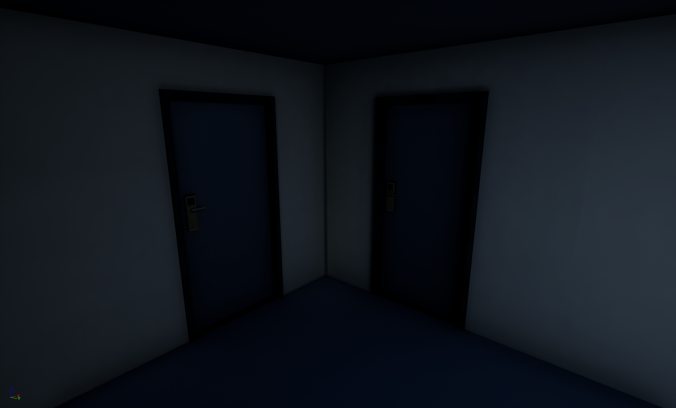
If you ever been playing with Bethesda Creation Kit you know how those worlds are build, they are build from reusable assets or kits. Star Citizen is another example. So why can’t we (or can we?) do something like this with Unreal. Well Unreal uses lightmaps, for maximum optimization. CryEngine lights are fully dynamic and doesn’t need or even have static lightmaps, even Unity can get away without them. Lightmap baking doesn’t work perfectly in Unreal, with default lightmass settings you’ll get shading problems.
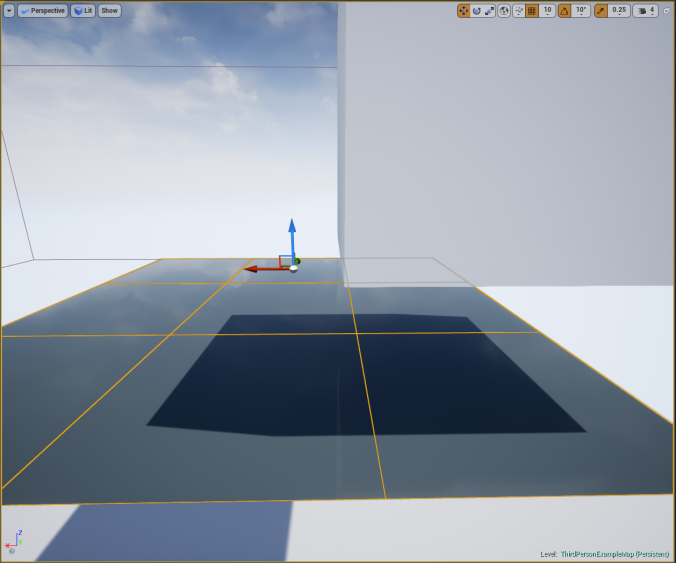
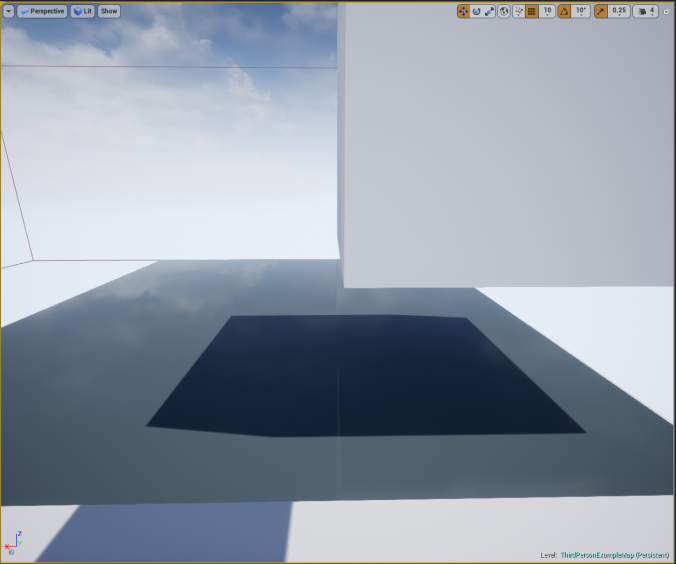
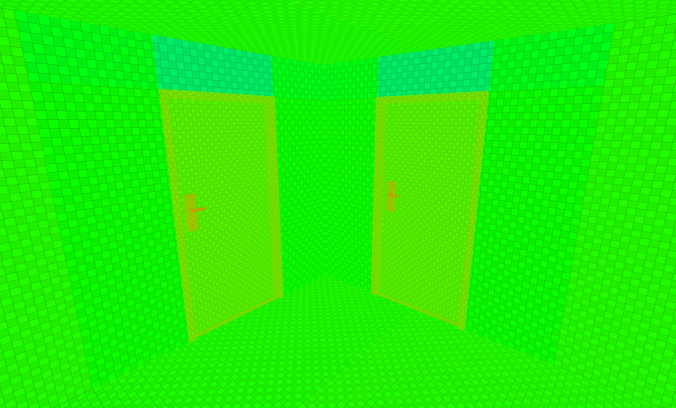
Shadow Seams/Shading Differences with Indirect Lighting
What’s happening here is that each of these static meshes are sent to the CPU to be processed in the order they are received and on different CPU threads. This simply means that while each one has their lighting built by lightmass the others don’t know what the shading for the one before it would look like to reference the edges to make sure they match up. This leads to slight shading differences between each planar surface.
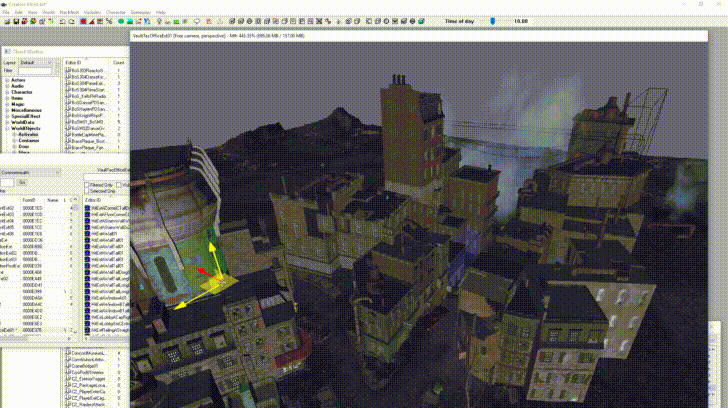
Creation Kit Fallout 4:
Problems with (static lights) modular building in UE4:
- The lightmap color continuity breaks if you try to achieve large wall from tiny objects.
- Sometimes Diffuse changes color on object.
- Instead of getting beautifully shaded wall you’ll get something that looks like from minecraft.
Typical (easy) solutions are:
- Replace tiny objects with one large object.
- Scale up the lightmap resolution till you achieve bluescreen.
- Tinker around with light settings.
- Watch more YouTube videos.
- End your hobby/career.
Assets from StarterContent:
Progress:
Dynamic lights in UE4
Lighting interior scene fully dynamic is possible. Because everything is calculated realtime there won’t be any shading problems like in static lights. But gaining 120 fps is almost impossible for graphic cards like gtx 660. I’ve seen even reports of someone doing only 60 fps with 780gtx.
But today there is two rendering methods in UE4, deffered and forward. You can switch to forward rendering from settings. With forward rendering you’ll gain about 30-60 fps but reflections are going to look different and you’ll lose some other things too. Plus you need to re-build shaders.
Another cool thing which came with 4.20 is rectangular light, no more pain of lighting corridors with ball shape lights! One rectangular light can cover whole corridor if you wan’t to, if you do it with ball shape lights, you’ll need lot of them and they collide with each other which drops performance terribly and there you are sitting with 15 fps.
You don’t always need “Cast shadows” on. Basically you don’t need shadows you just need light so turn it off for 90% of your lights and gain some performance.
If you need some punch in the shadows use SSAO. It’s in postprocess volume:
- Rendering features
- Ambient Occlusion
- Advanced
- Intensity 1, Radius 100, Quality 100.
Outside scene is much easier because there’s “Directional Light” and it’s pretty well optimized (thanks to fortnite i quess). This is where polycount matters and it will have huge impact on your frames, in small interior scenes you can go full star citizen and add geo as much as your heart desires.
Lastly use Gpu Visualizer, ” Ctrl + Shift + , “.
Setup
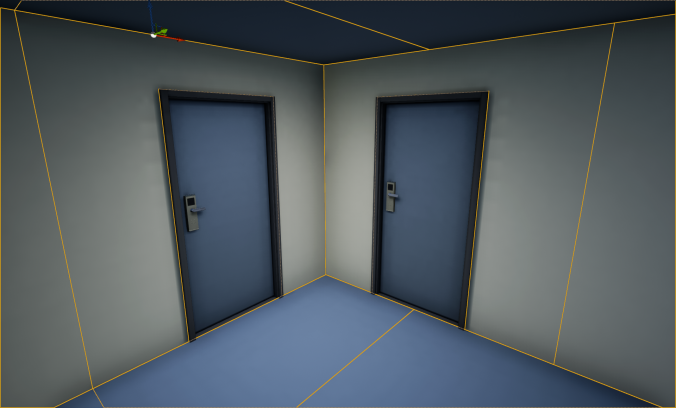
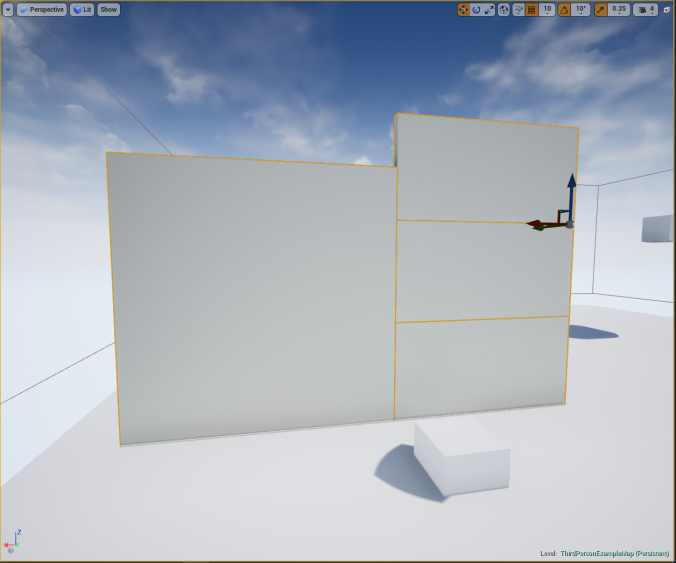
Small corner made from 6 assets.
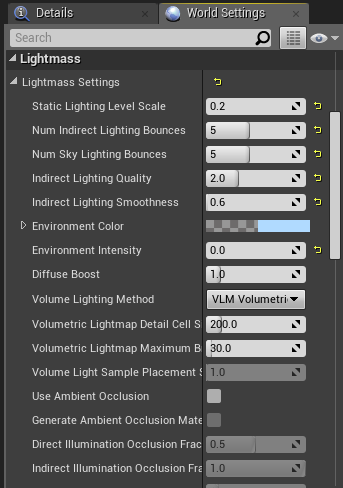
Lightmass settings. This will increase your lighting build time but it’s okay, we’ll survive. All in name for science!
Indirect Lighting Quality and Indirect Lighting Smoothness are most important. Static Lighting Level Scale makes lights more precise and increases building time, with Preview lights this has to be 0.1 to see any difference, with Production lights you’ll start seeing results from 0.5, going lower numbers like 0.05 doesn’t do anything. Num Indirect Lighting Bounces had no effect so whatsoever but Num Sky Lighting Bounces made some shadow errors in Plane Example, giving it more then 3 fixed it. Indirect Lighting Smoothness either fixes or breaks everything, 0.3 value or lower crashes Unreal Editor.
Preferred settings for modular building:
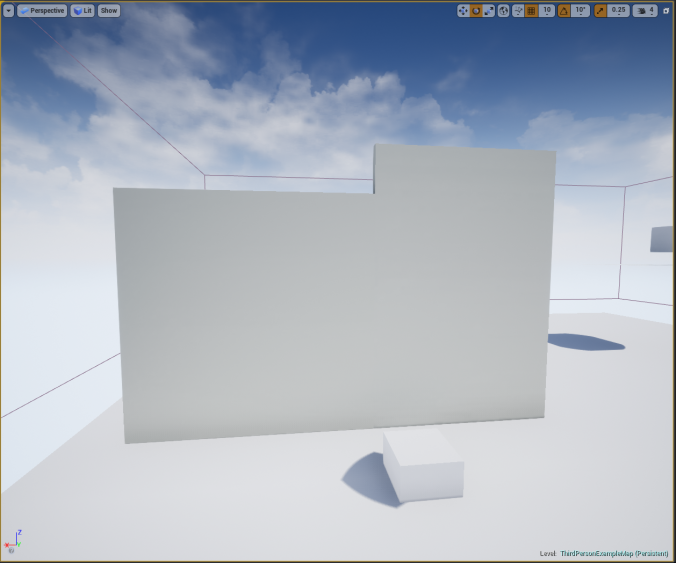
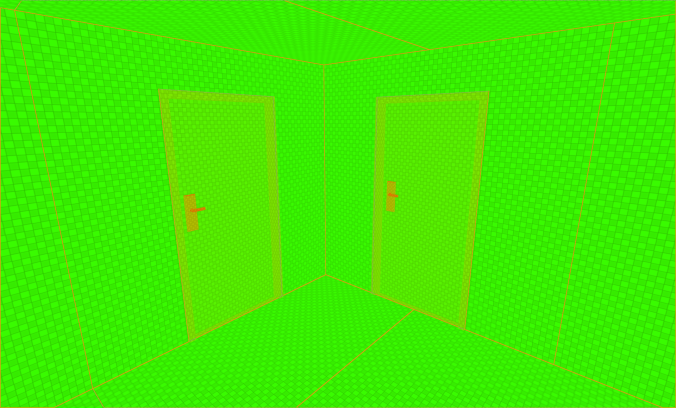
So i build some walls on other side and roof because i wanted “interior lighting”.
How its build.
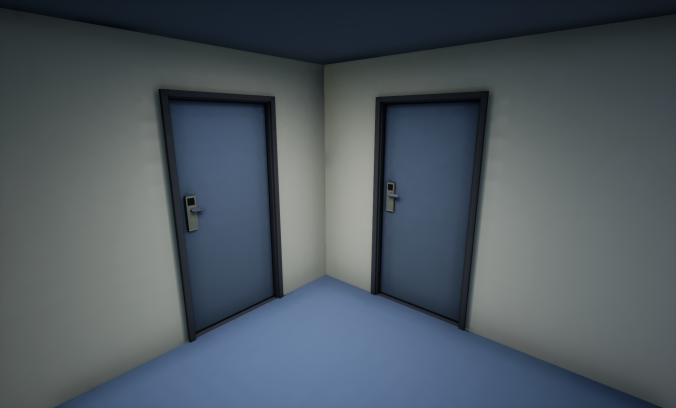
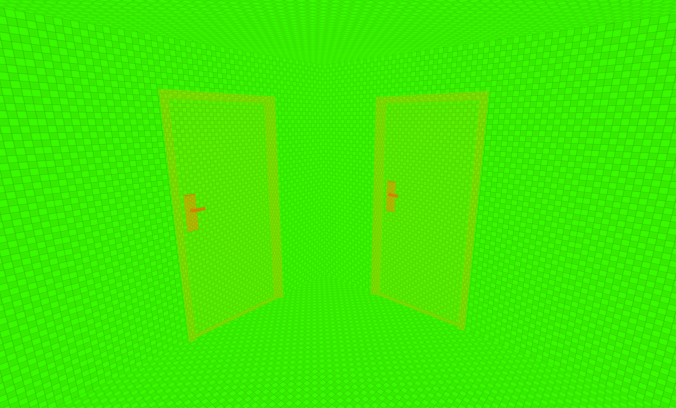
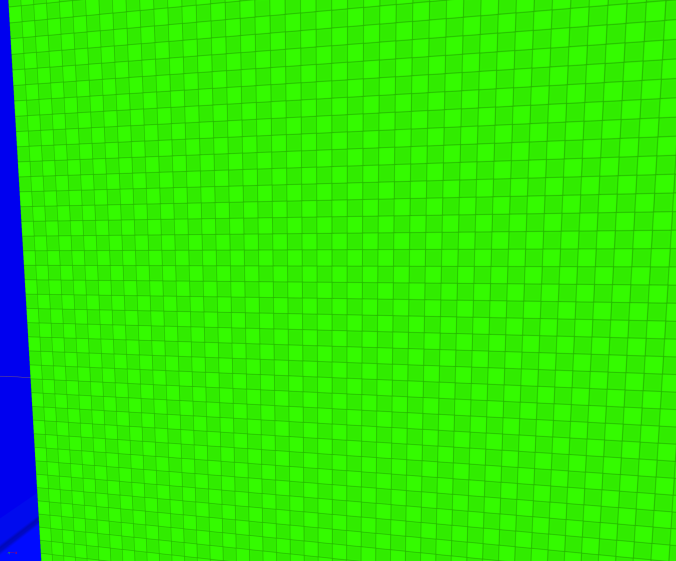
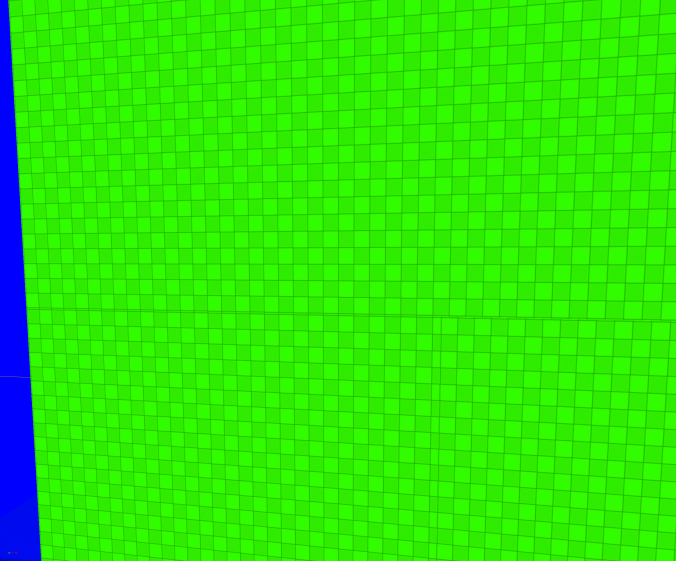
This is the final result i had. Smooth lightmap transition from edge of assets, some weird waves near top of door frames though. Art looks like all those thousands of early access Unity games in Steam. We can make money with this! As long as the player runs through this section 😀
Planes example:
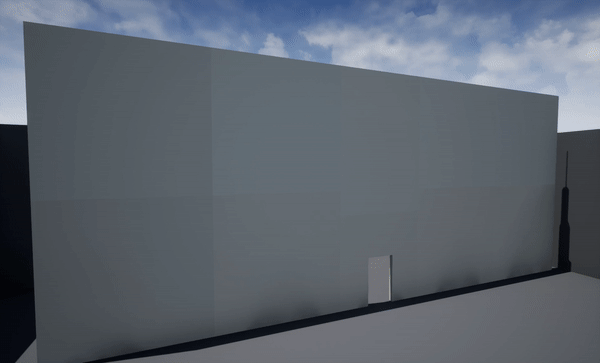
Simple wall:
You want it to be smooth.
UV Matching
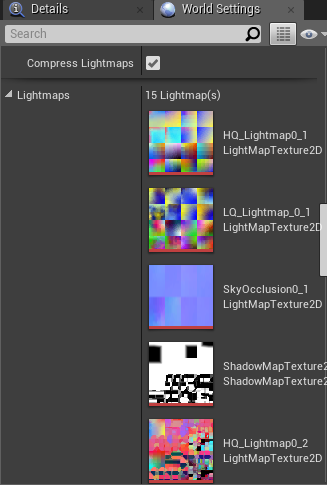
The lighting information needs to match from asset to asset so it’s important that uv’s are set up correctly. To see this layer click on Lit on viewport (top left) and find Lightmap Density.
Example of bad UV. Uv doesn’t match on floor. Problems on walls. Alignment problems on top left and right.
Almost correct. UV matching on floor and on asset edges. Door frame is more complicated but as long as it doesn’t because problems leave it like that.
Where the assets are.
Maya
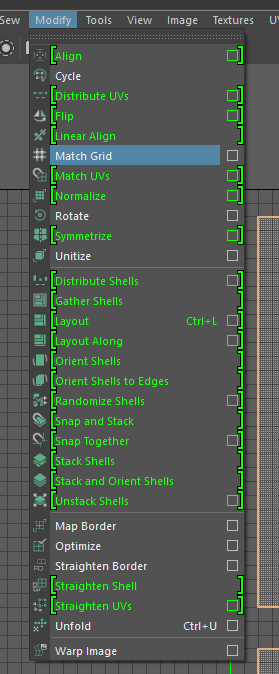
To match the lightmap UV’s across the assets you need to use the Grid in Maya UV tools.
View -> Grid -> Click cube.
Set it like this:
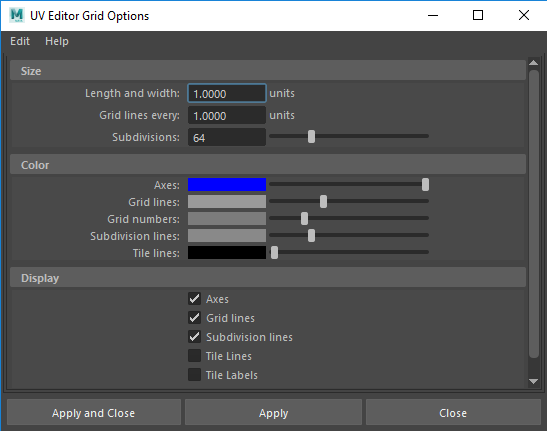
Now you can hold X to snap on Grid.
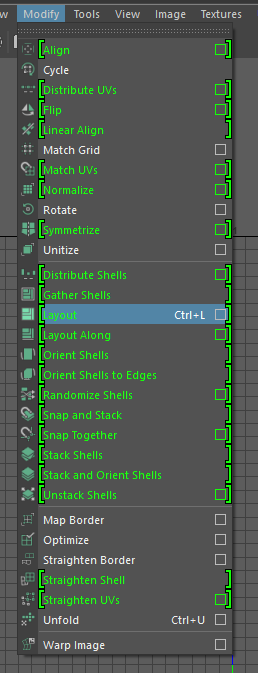
If you have something complicate you can use layout:
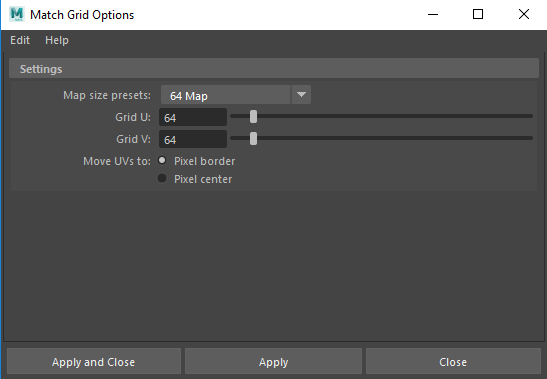
Set it like this and hit Apply:
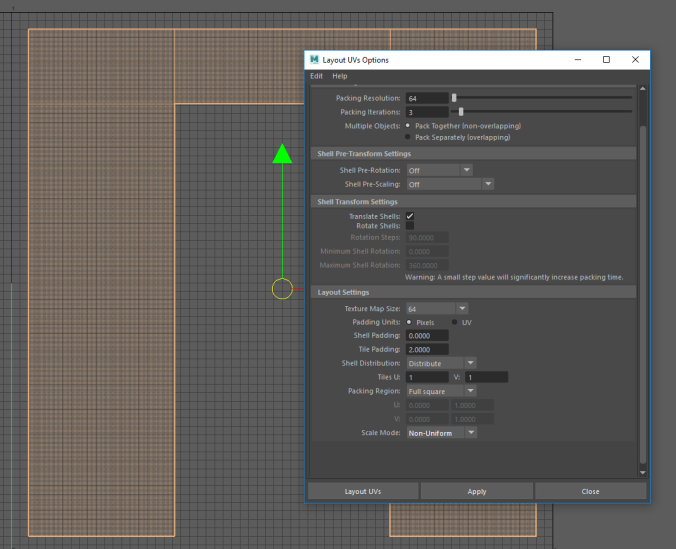
One cube is 1 pixel so we have 2 pixel padding here.

Set all your tiling asset lightmaps like this (match it to grid). Make sure that texel density matches up too. You should start UV mapping from the largest asset you have in your kit.
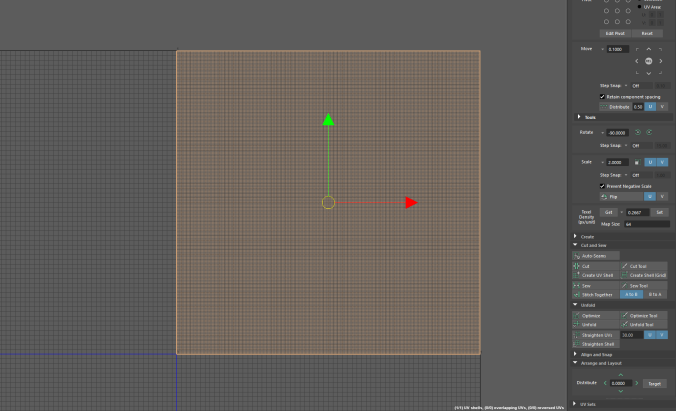
You can also do it like this:
Padding is not necessary…
with one island. but if you have more:
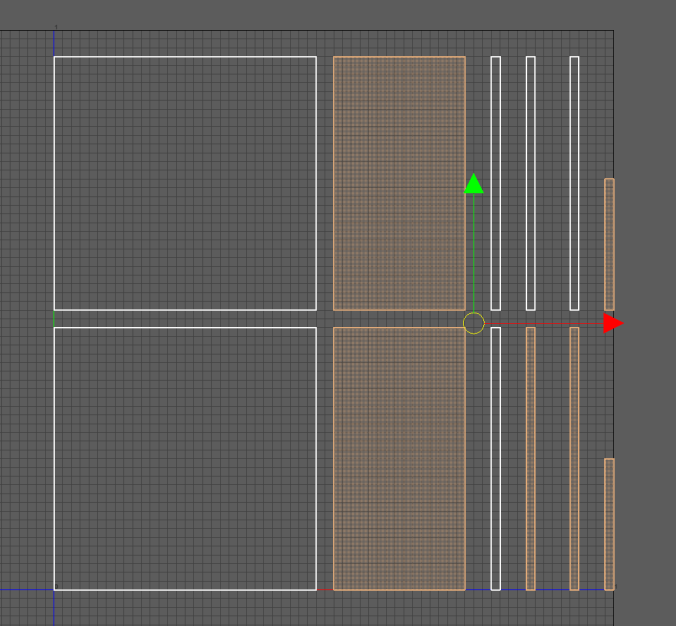
The result above was achieved with Match Grid.
Blender
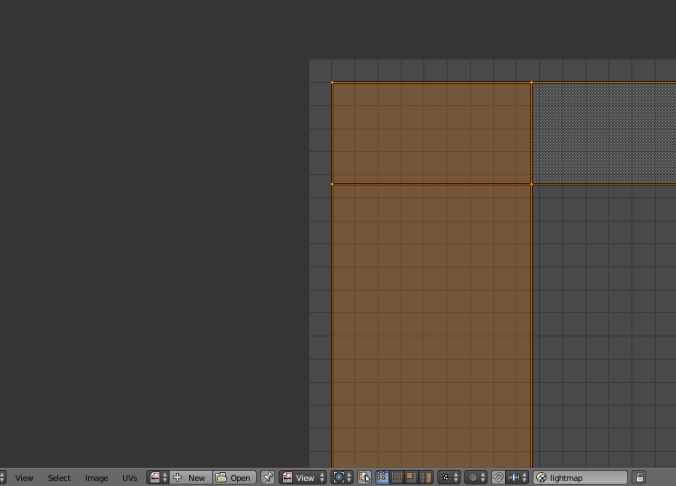
So i exported this asset from may to blender and:
This is how it matches up with Blender’s Uv Grid (64×64).
One cube is 2 pixels here.
Zoomed in. Big cubes are 0.5 pixel and tiny cubes are 0.125 pixel.

Offset
Something you should know is.
Here i have perfectly tiled wall. Right after re-import it looks like this.
But after lighting building it doesn’t match up anymore.
But it still looks good with Production lighting. It’s probably because how lightmaps are packed.
Summary
Problems, problems, problems…
Not really. It is it’s own art form and most people rather build house from one object and call it a day.
If Lighting quality is Preview you won’t see what you’re trying to achieve so you have to keep it on Production whole time which multiples building time or just trust your assets and settings.
Light building times for this scene was:
- Preview: 10 seconds
- Production: 1 minute 30 seconds
Good luck!
Links/References
Unreal Forum – Lets make Lightmass EPIC (and understandable)
Unreal Forum – Modular Asset Lighting Problem
UE4 Answerhub – [bug] Lightmap color continuity issue
UE4 Answerhub – Lighting problem on Modular floor tiles.
UDK: 18 Important Principles for Creating/Using Lightmaps (Lightmapping Basics)